


No thought ever turned out to be so wrong! InDesign has many features that allow you to automate certain tasks (such as GREP and scripts), or automatically set styles to your content (paragraph styles). And working with tables in InDesign is beautiful when you learn how to do so.
Overview
- How to create a table in InDesign
- How to convert text to table in InDesign
- How to link a file Excel to InDesign - part 2
- Editing tables in InDesign from Excel - part 2
- How to create table styles in InDesign - part 3 (with a template you can download)
- Useful shortcuts (summarised in every post)
How to create a table in InDesign
There are essentially three ways to create a table in InDesign.
You can:
- Convert text to table in InDesign
- Create a text frame and insert a table into InDesign
- Import Excel into InDesign — and also import a linking spreadsheet that you can update from Excel
{{banner-component}}
Method 1: Convert text to table in InDesign
These instructions are especially useful when you:
- copy table from Word to InDesign
- copy table from Excel to InDesign
The simplest way to import a table from Word to InDesign is by copying the table from Word and then pasting it into InDesign (the same goes for Excel).
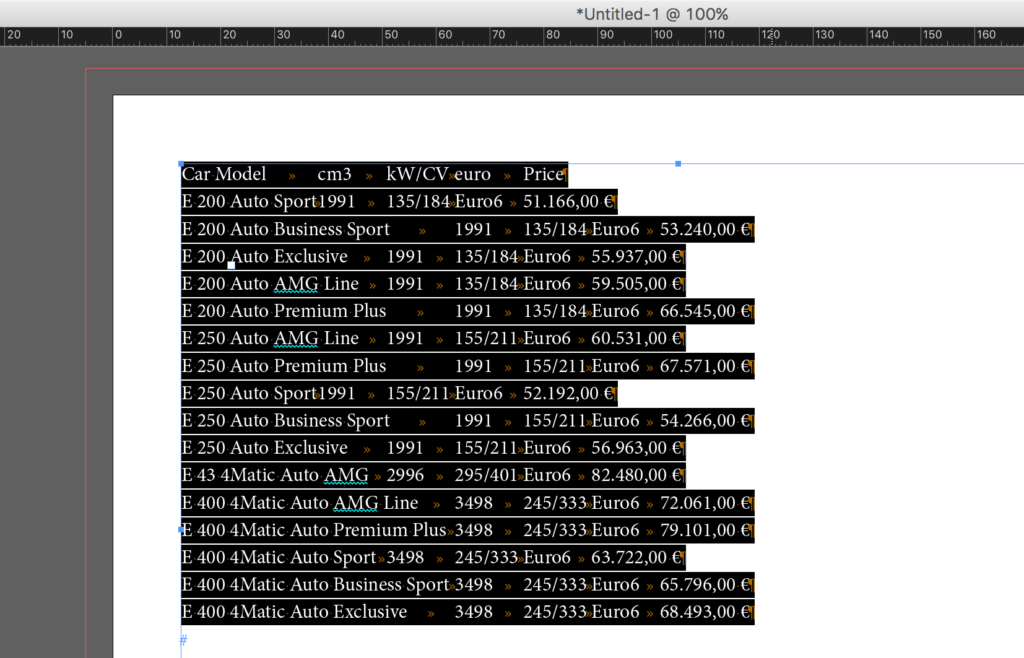
Immediately, when you import the Excel/Word table to InDesign, the software converts the table into text and separates columns by tabulations and rows by paragraph returns.

To convert the text to table, you need to use the feature in InDesign “Convert text to table”:
- Select the entire text you just copied.
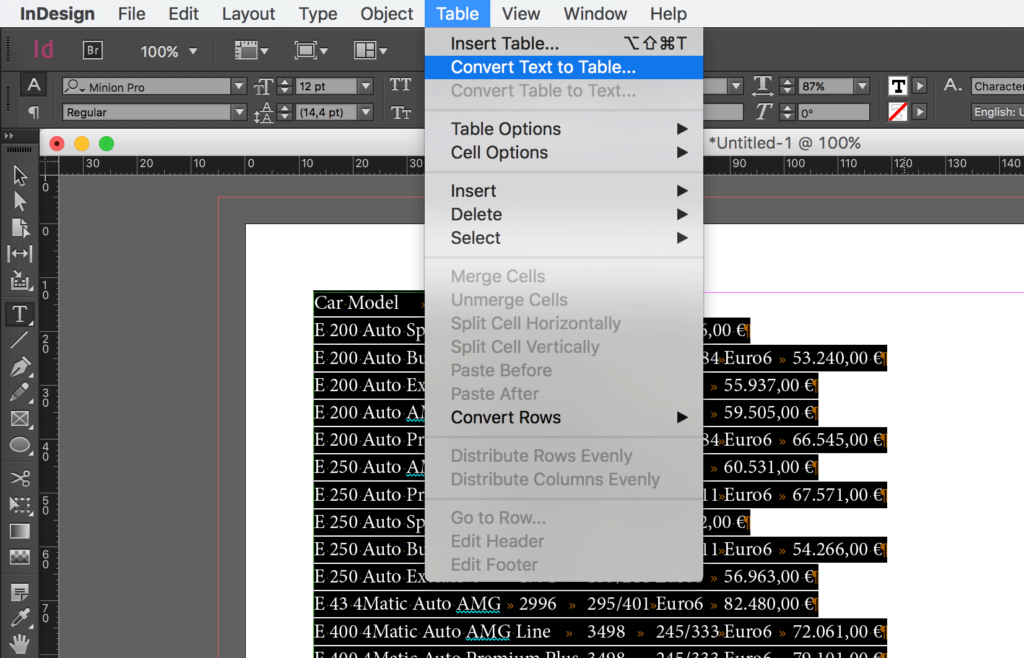
- Click on Table in the main menu bar and click on “Convert Text to Table”.
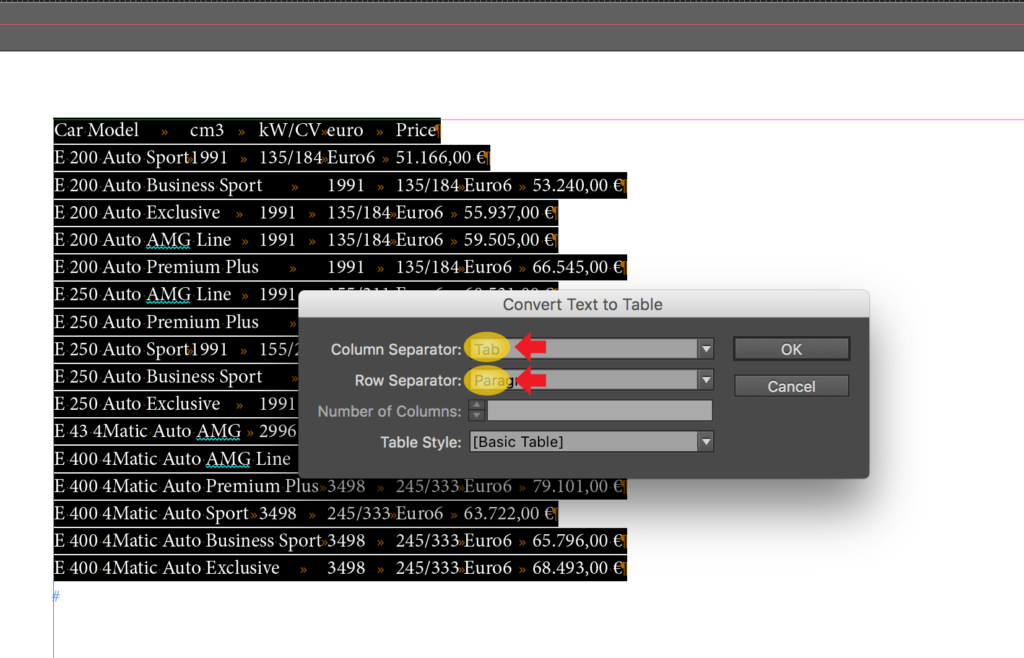
- Set Column Separator, Row Separator, and Table Style (more about InDesign Table Styles later - in part 3). In this case, the default is just fine. Click OK.
Here you have imported a Word table to InDesign, and you are ready to set the layout of your table.
Method 2: Create a text frame and insert a table into InDesign
Of course, you can also draw a table in InDesign directly. This is probably the most common method to create a table in InDesign. Be aware, though, that you can also link a table in Excel to InDesign (I’ll show you that in part 2 of this series, after we’ve seen how to import an Excel file into InDesign).
Follow these instructions to draw a table in InDesign:
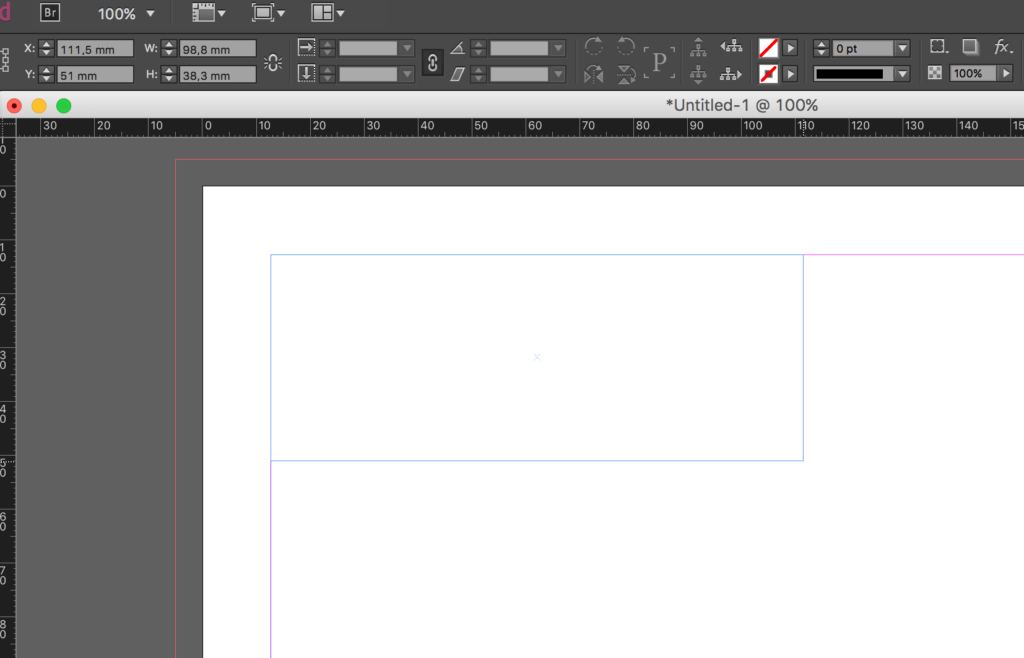
- Create a text-frame in InDesign.
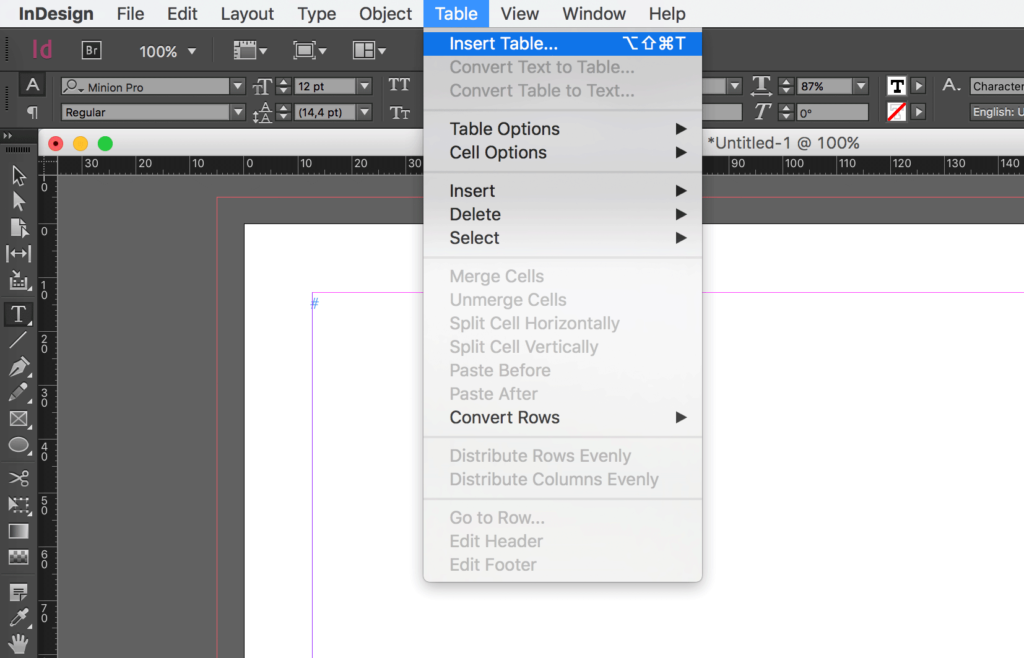
- Click on Table in the main menu bar and click on Insert Table...
- In the Insert Table windows, set the number of rows and columns you want in your table and click OK.
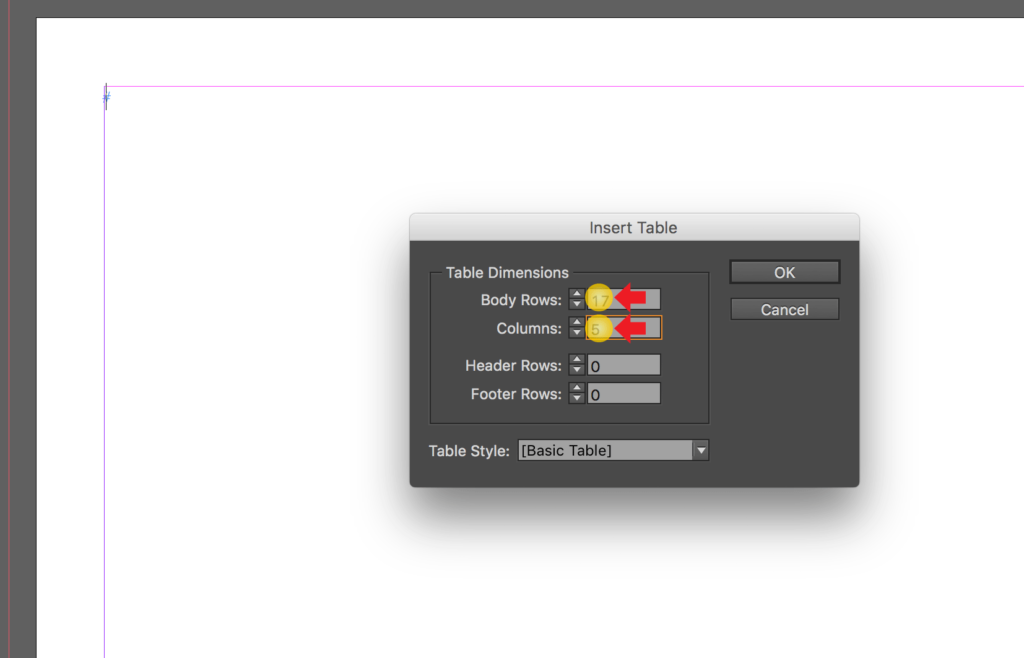
As you see in the screenshot, you can also set the number of header rows, footer rows, and the Table Style. Header rows and footer rows are useful when you have a Table Style (more about this later - in part 3) or long tables that span over different text-frames.
This is how to draw a table in InDesign inside a frame-box. Of course, once you drew the table you can add or delete rows and columns (more on this below); you can drag and drop them to change their order; and you can assign a style to its cells.
Method 3: Import an Excel file into InDesign
You can import a spreadsheet directly from a file Excel into InDesign.
One of the advantages of using this method to create a table in InDesign is that your table comes formatted inside the InDesign document as it is in the Excel file. Then, of course, you can change its properties or assign a style in InDesign to make it more appealing.
Also, you can link the spreadsheet so that your document updates when there is a change in the Excel file (more on this later - part 2).
Follow these instructions to import an Excel file into InDesign:
- Click on File in the main menu bar and click on Place...
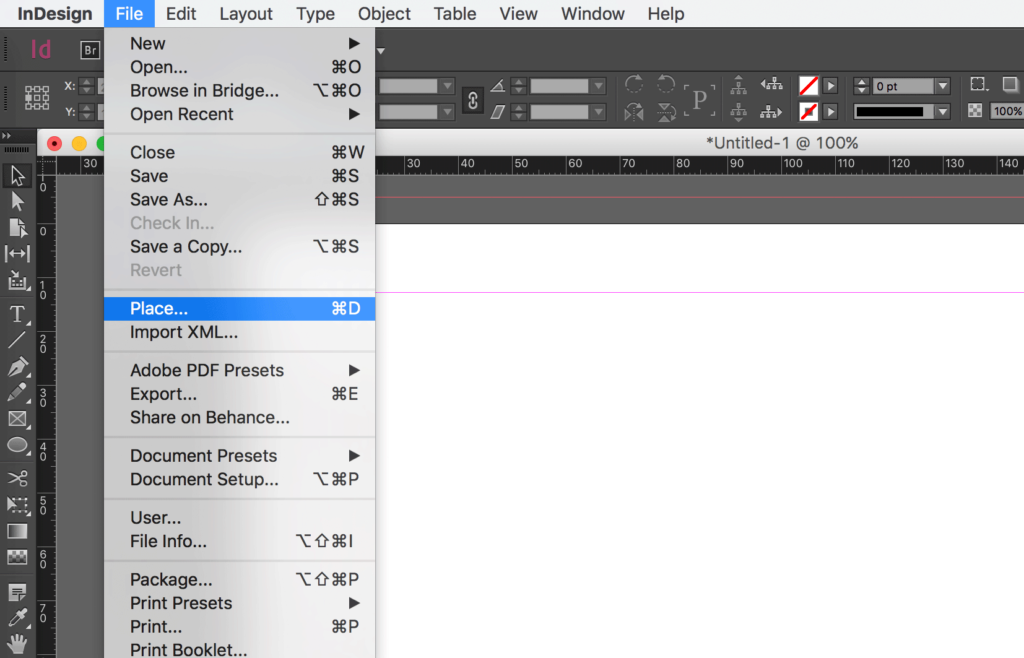
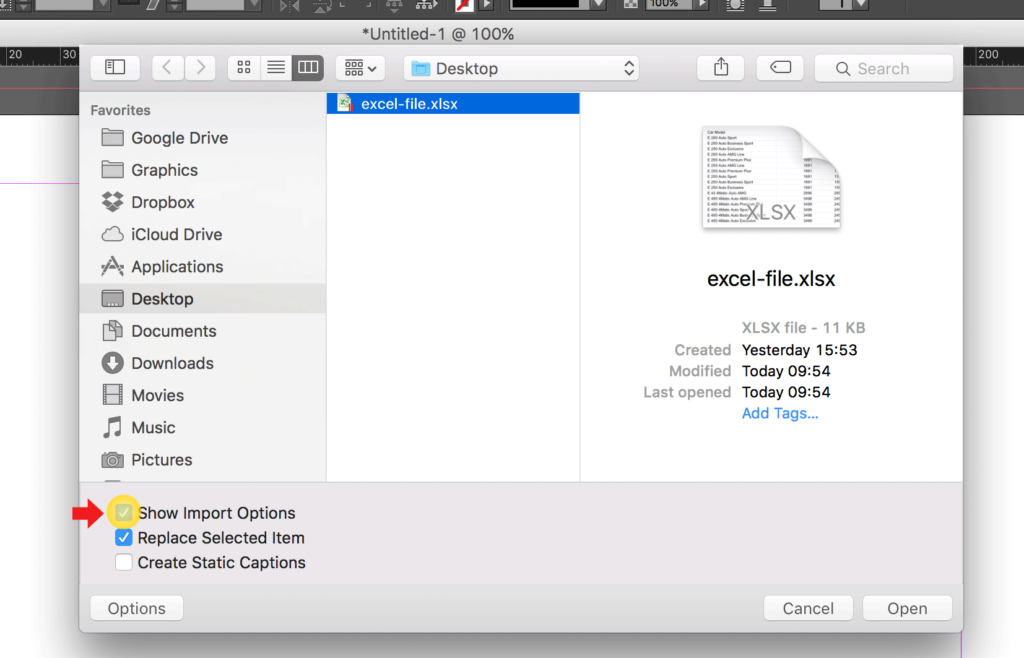
- Check Show Import Options in the import window, select the file and click Open to import the Excel file into InDesign.
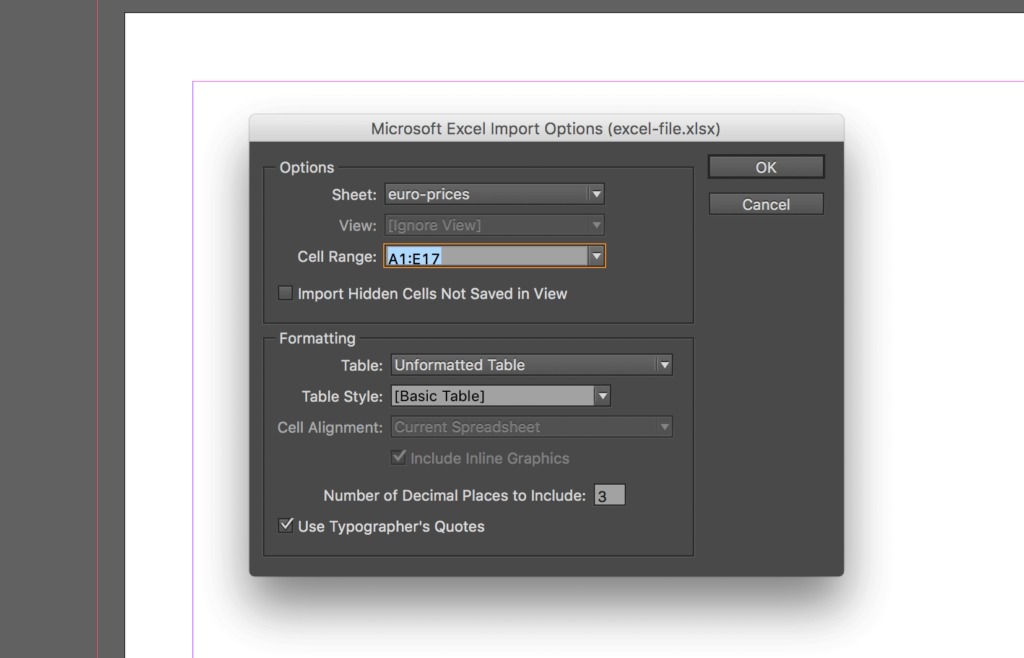
In the import, you can select many different variables, such as the Sheet to import, the Cell range, How to Format the Table, and so on. However, InDesign is smart enough to import your table correctly even if you don’t select anything and just click OK.
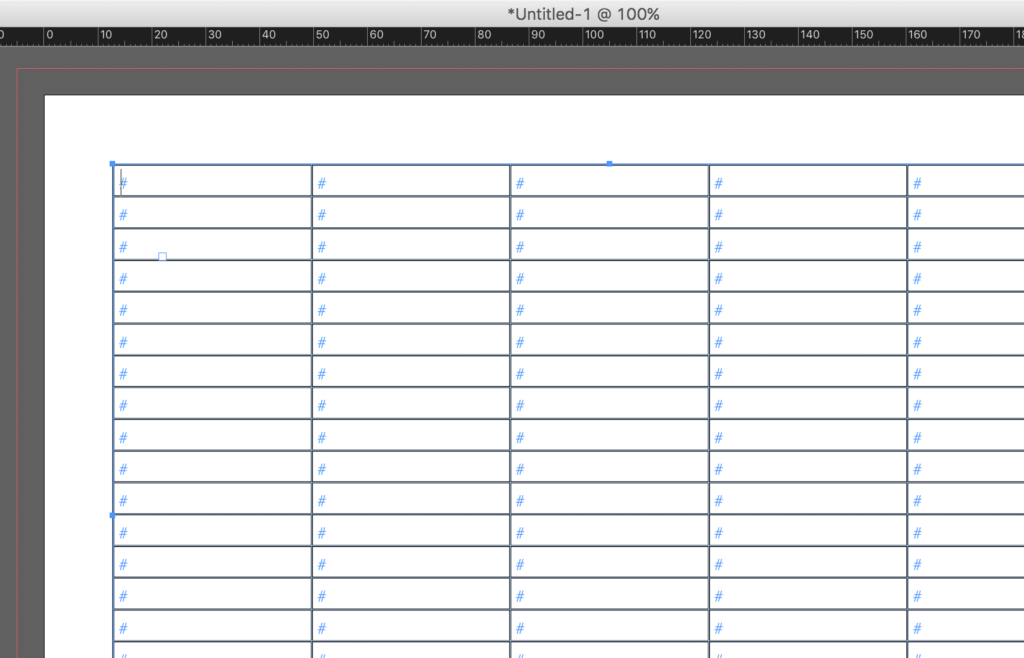
- Click OK and then draw a text-frame in InDesign to place your table.
This is how to import an Excel file into InDesign. Of course, once you have imported the table you can change the layout and styles of your table.
Must-know InDesign Keyboard Shortcuts
In the next post (part 2)
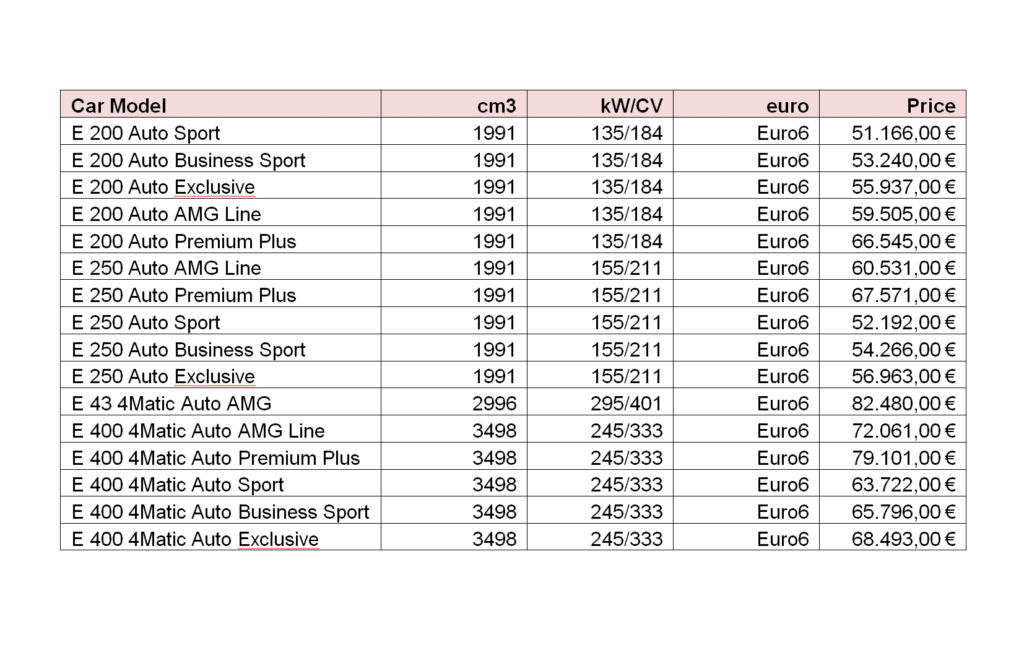
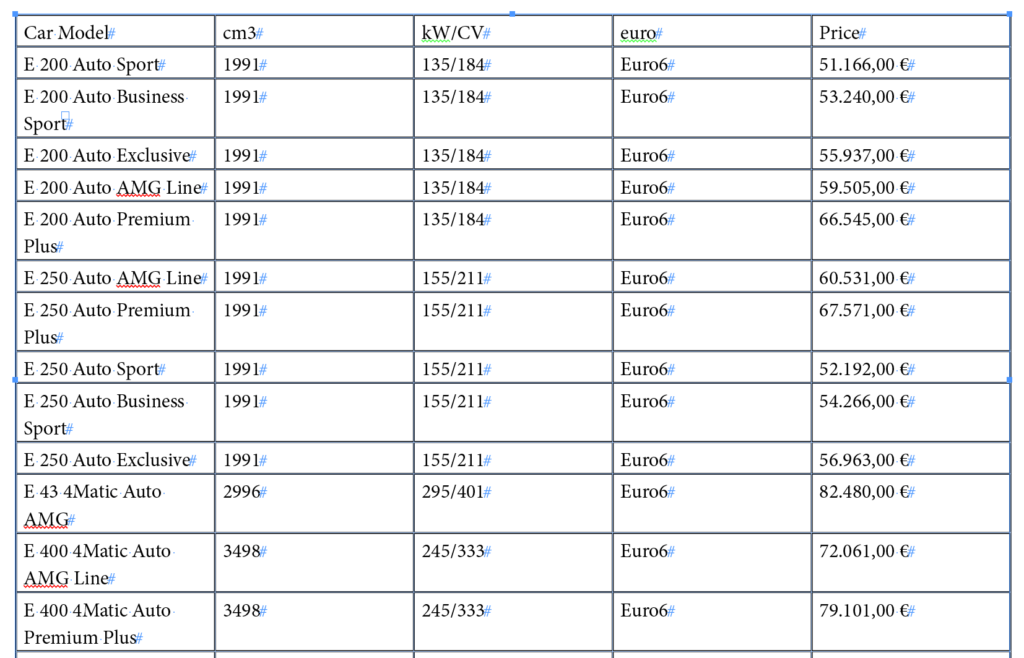
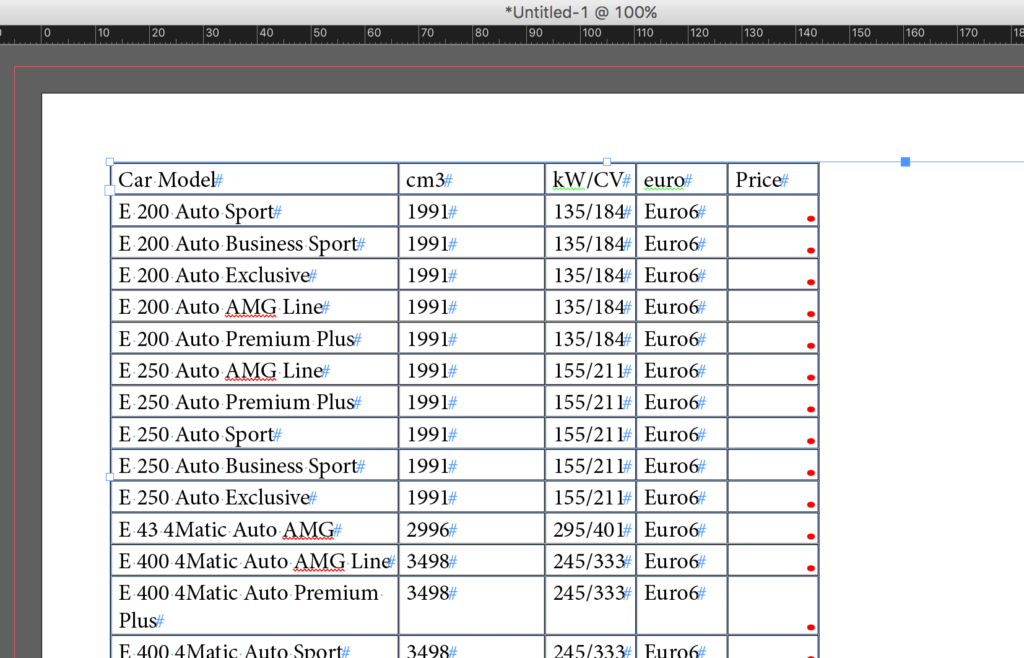
Let’s say that you have a product catalogue or a price list and sometimes you need to apply changes to the product prices listed in a table.
In Part 2 we will use that example to see how to import a linking spreadsheet that you can update from Excel.
Be sure to subscribe to our newsletter to keep up with future posts or major updates. If you liked the post, I'd really appreciate you sharing it!


