


Probably the most common text-related issue you're going to face is overset text. Don't worry, though, it is very easy to manage!
If you are experienced, you probably know a way to handle this but do you know all the three ways I've described below?
And if you are a beginner, I've prepared everything you have to know.
In order to make it easier for you, I've divided the content into a few sections. Feel free to jump to whichever section you might feel like reading:
Overview
- What is overset text in InDesign
- How to quickly find all overset text
- How to fix overset text in InDesign
- Manually:
- ~With the Story Editor
- ~By creating threaded text-frames
- Automatically:
- ~with the Find/Change
- ~with keyboard's assistance
- ~by using Smart Text Reflow
- 2 Additional Tips to Master your Text and avoid the overset
What is overset text in InDesign?
To put in the simplest way possible - overset text is the text that will vanish from your content if it can't fit into a certain text frame.
For example, can you imagine trying to place a page-long text into an average text frame?

It's very likely that the text won't fit and it will not be placed in the suitable text frame, therefore, it won't be displayed or printed as part of the given paragraph.
I must point out - the additional text is not deleted, it's just not visible.
No worries, the chances of actually printing this kind of document are close to zero. InDesign is a very intuitive software that will warn you about all sorts of issues, including this one.
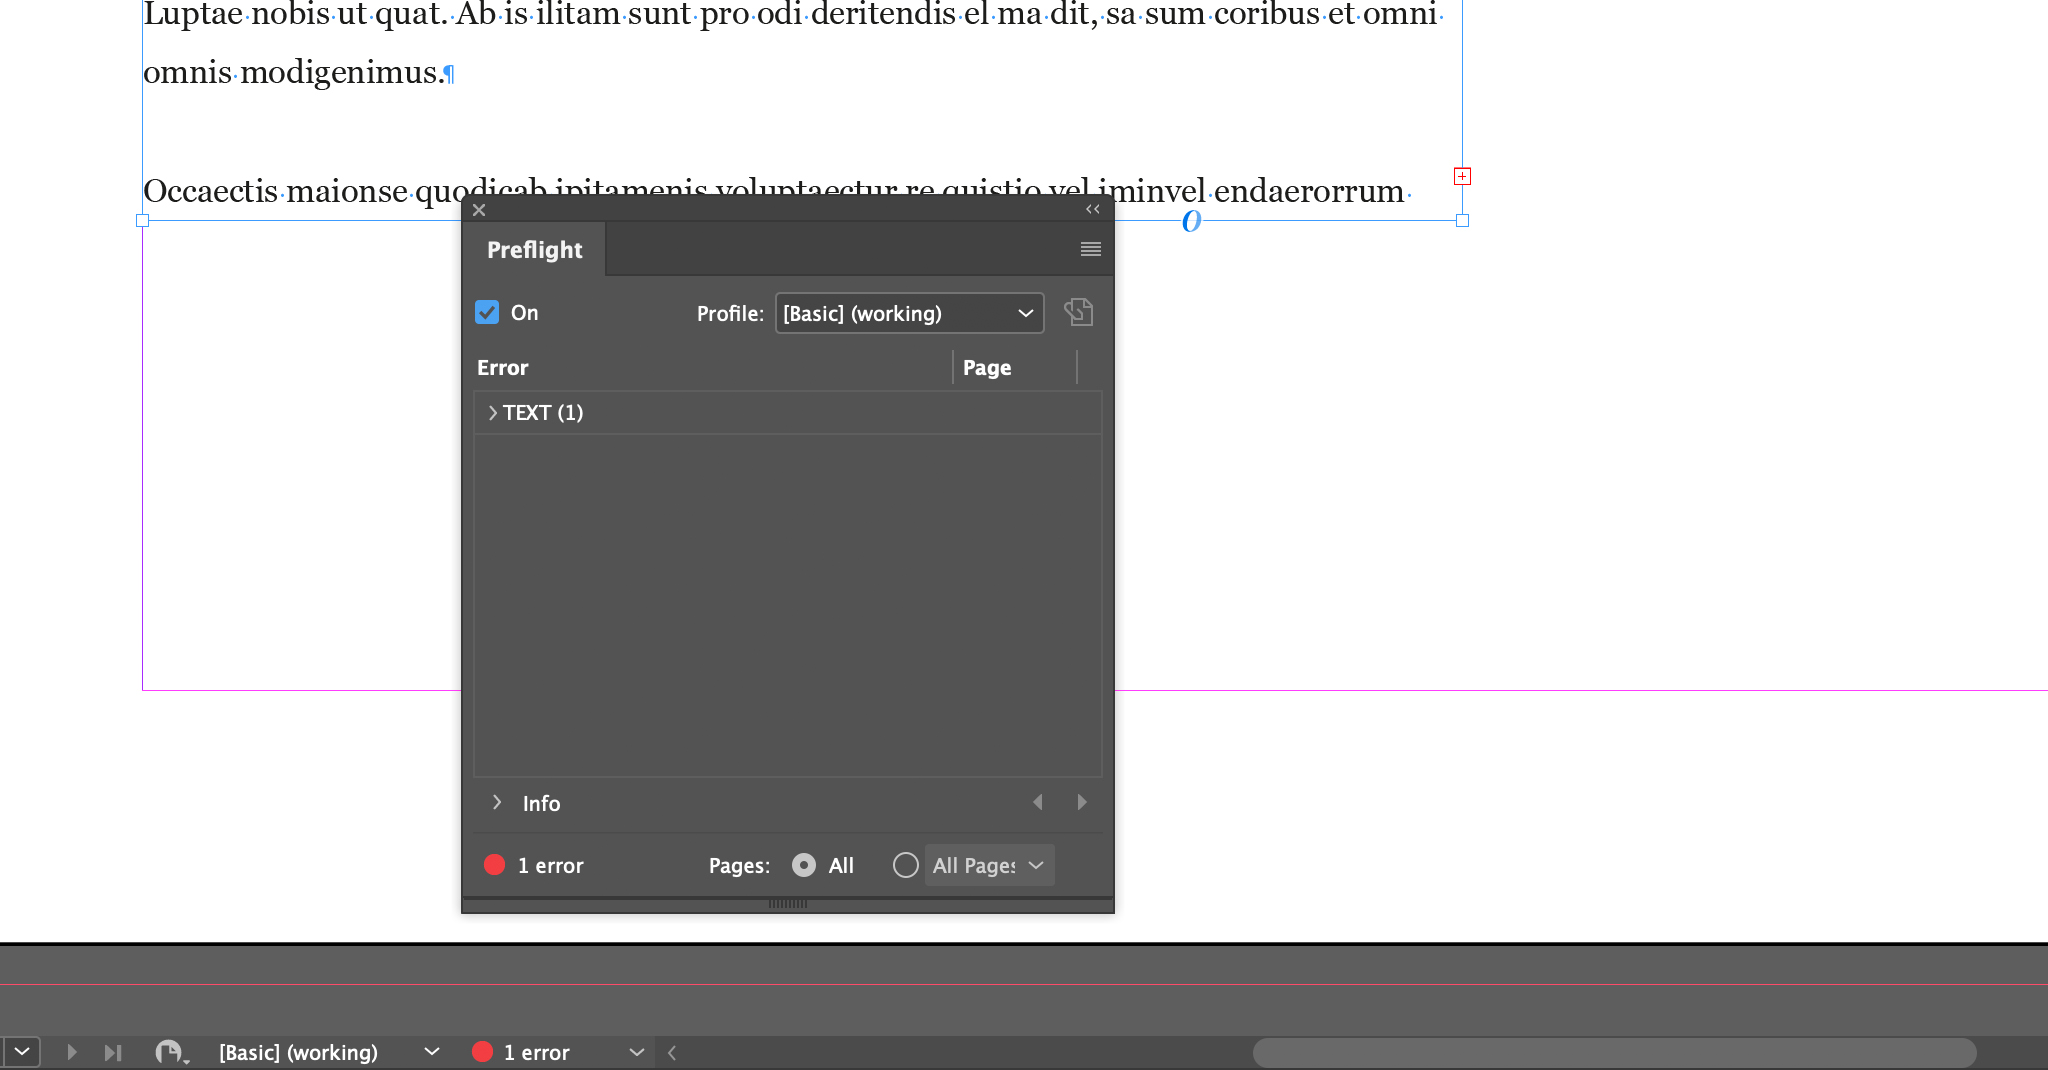
A clear sign of overset text is when the text-frame shows a red + plus sign in the bottom right.

Now that you do know what is overset text, and how to recognize it, here is how to easily find it in your document.
How to quickly find all overset text?
Learning how to find and fix any overset text in your document is very simple and here is how to do it.
One look in the lower-left corner and you will see either a red circle (indicating an issue) or a green one (issue-free document).
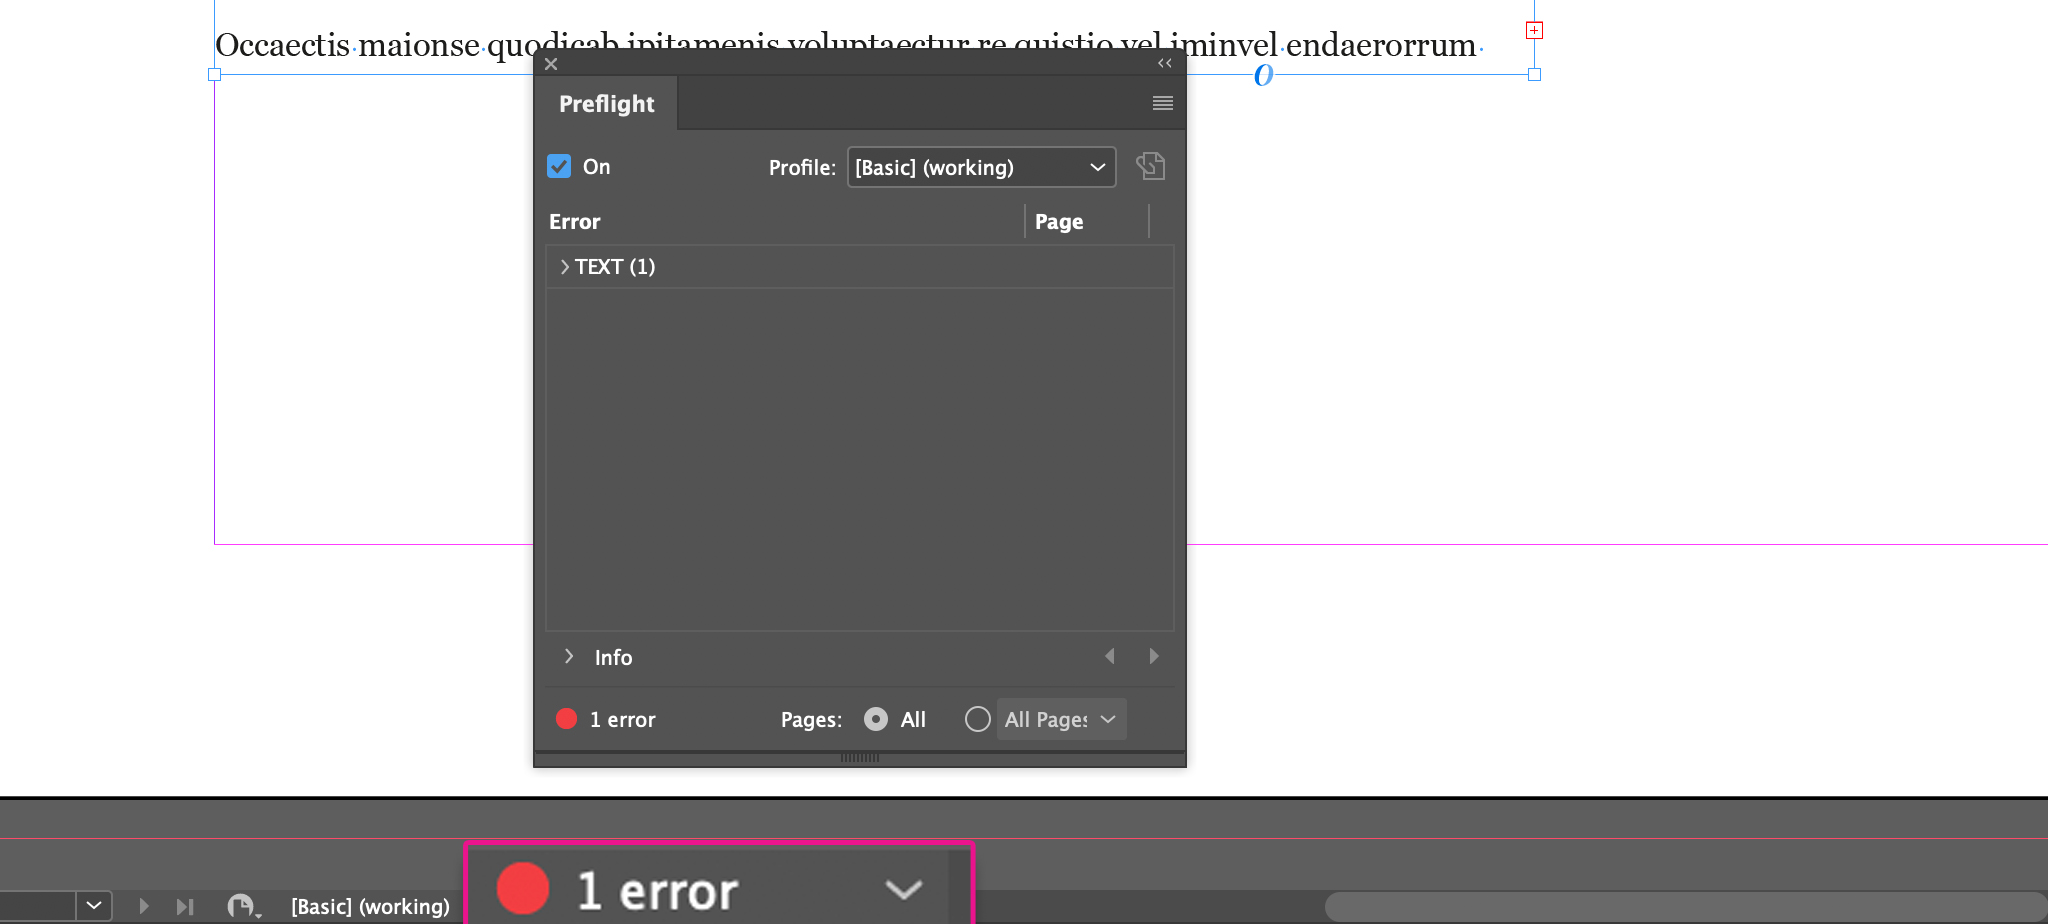
A simple double click on the red/green circle (or Window > Output > Preflight) and you will see the Preflight panel that will show you all the errors in your document including overset text.
Besides finding the overset text, Adobe InDesign will also alert you about all the errors in your document before exporting it.
Since the issue might be new to you, read carefully through the next two sections to learn how to handle it.
Additionally, we will see a few tips about how to master the text in your document.
How to fix overset text in InDesign?
Fixing overset text in InDesign can be done in three ways:
- Manually:
- With the Story Editor
- By creating threaded text-frames
- Automatically:
- with the Find/Change
- with keyboard's assistance
- by using Smart Text Reflow
Stick with me, I will explain all the different ways.
Manually
Suitable:
- for smaller amounts of overset text
- if you need perfect control over your layout
1. Use Story Editor to be able to read the hidden text
This feature is less known by beginners, but it's really loved by all advanced InDesign users: the Story Editor.
Story Editor is practical:
- when you want to deal with a single problem or, at least, a limited amount of them
- when you want to see the content of the text box before adapting your layout.
If, for example, you have to deal with
30 such issues when working on a book, doing it with the Story Editor might take a lot of time – and in this case, I would suggest you to change the text formatting entirely (by using InDesign paragraph styles or the Find/Search).
- What is Story Editor?
The Story Editor is a functionality that shows the text in your text-frame in a pop-up. From the pop-up you can edit your text without resizing the text-box (re-formatting the text without any distractions).
- How do you activate Story Editor?
Select a text-frame and choose Edit > Edit in Story Editor.
Once the Story Editor appears, in its pop-up there will be a vertical depth ruler and on it, you will see the entire InDesign overset text marked by a red line.
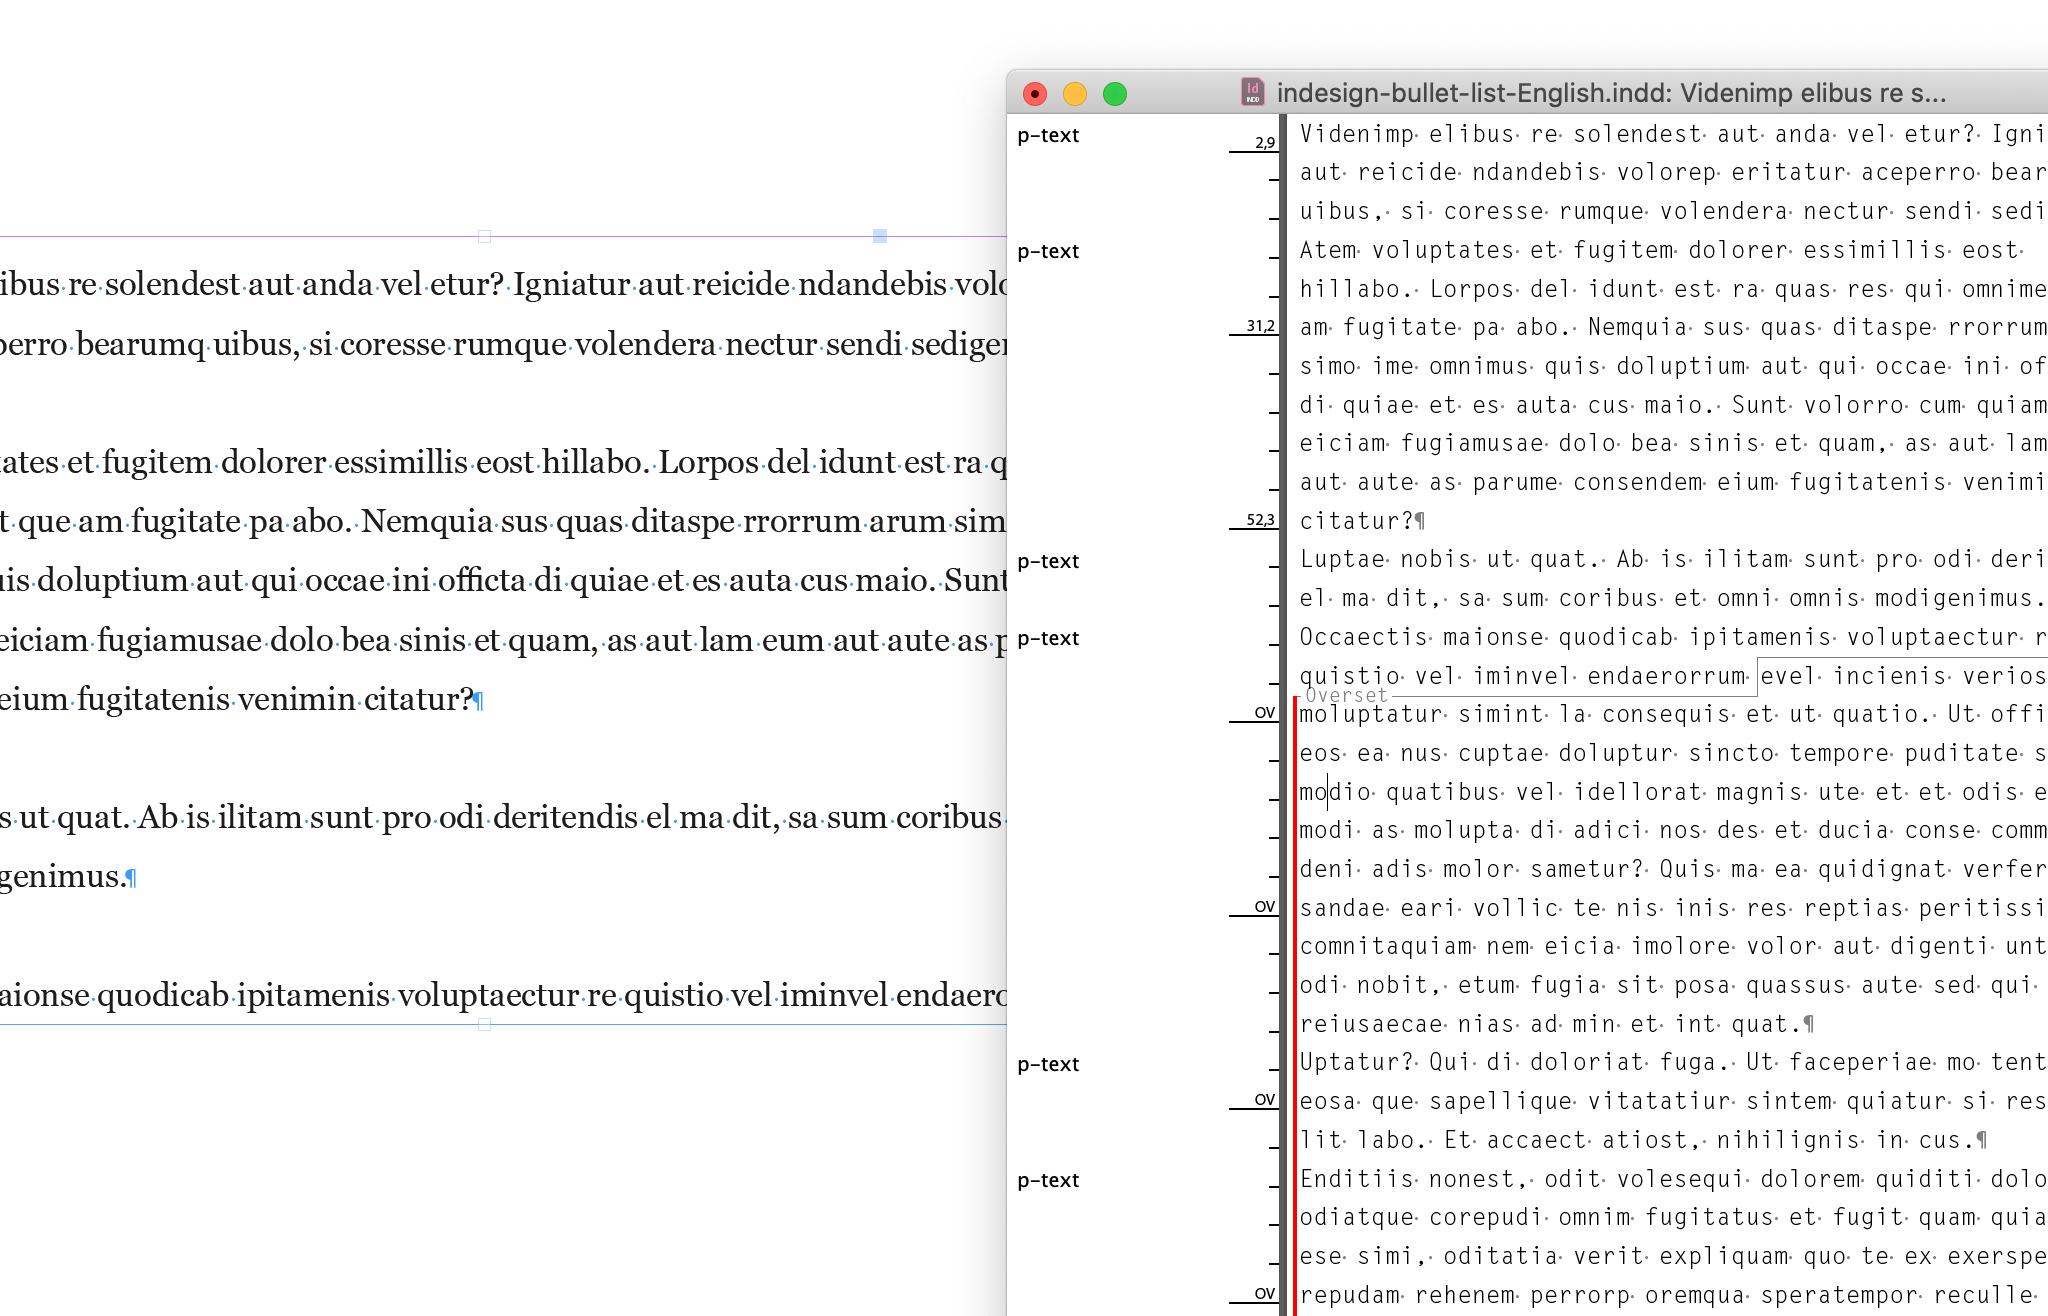
It is quite simple, really. From this point on, you can easily choose what you want to do with the text (edit, highlight, decrease the font, copy, cut, or delete it if not needed).
2. Use threaded text-frame
Let's start out with a brief explanation about threading text in InDesign's documents.
What is a threaded text-frame?
As you know, in InDesign, you can create a simple text-frame using the Type tool.
To this text-frame you can add different text-frames in a sequence, creating a threaded text-frame (connect them with the goal of flawless text flow).
When text-frames are threaded, InDesign will automatically flow your text from one frame into the other.
How do you create a threaded text-frame?
- Once you've created a text-frame, click on the little square that appears when your cursor is at the bottom-right corner of the frame
- Your cursor will change and at this moment click on the next frame or draw a frame.
And just like that, you've created your first threaded text-frame!
Now, the text in the first frame will automatically flow into the second one. You can choose to add as many text frames as you need to fit the entire overset text.
To view threaded text-frames you can activate "Show Text Threads" (click on View > Extras > Show Text Threads) this will show you how is your text threaded.
Automatically (suitable for larger amounts of overset text)
Now moving on to something even more exciting - an automatic flow of text!
The automated text flow is important to learn because it will save you tons of time especially when working with text-heavy, multi-page documents in InDesign.
There are three ways and they are as follows:
1. With the Find/Change option
The Find/Change tool can be practical for many things such as:
- setting the language in InDesign document (read this helpful InDesign spell check guide)
- but also when it comes to avoiding the common overset text issue.
This feature will allow you to:
- Find Format (search for a setting that can identify the text you want to reformat such as size, color, font, horizontal, and vertical scale)
- Change Format (add the new setting - replacing the found setting with a new format; for example changing the horizontal and vertical scale to actually scale the dimension of the text, say 90% for each).
Here is how to do it.
Vertical and Horizontal scale are two text attributes that you might want to take into consideration to quickly adjust your layout and prevent long text from overflowing out of its text box (since most of the time you won't even use these settings, InDesign sets a default value for them 100% each).
An easy way to adjust this is by changing the scale of the text with a simple Find / Change
- First of all, deselect everything and in the menu click on Edit > Find/Change
- Make sure that Find what: and Change to: fields are empty;
- Click on the first icon next to the Find format: field;
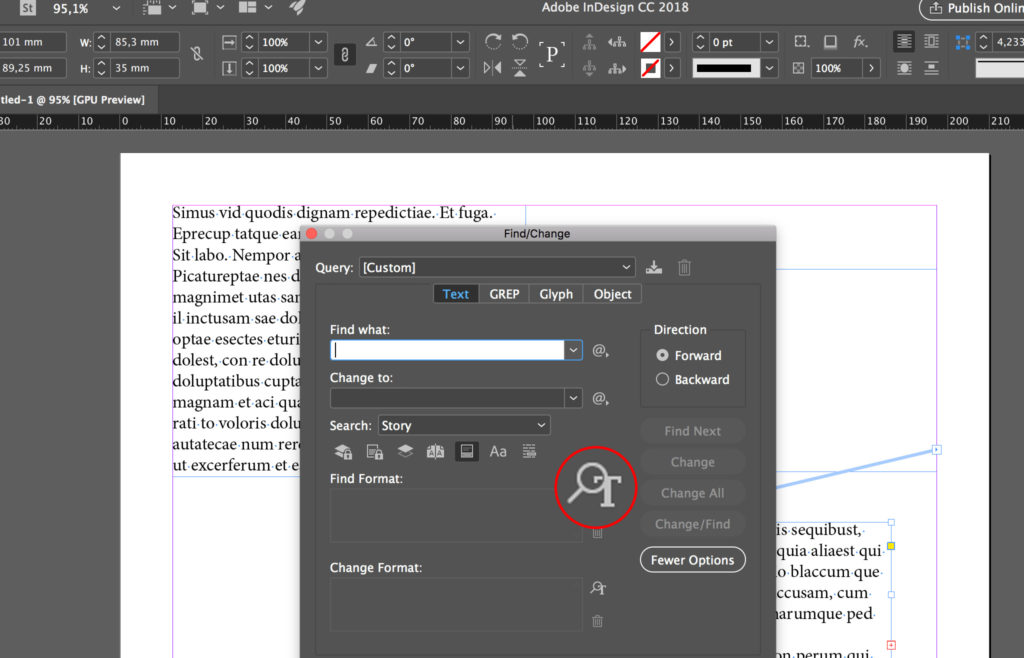
- In the window that opens, click on Advanced Characters Formats;
- Set Horizontal Scale to 100%;
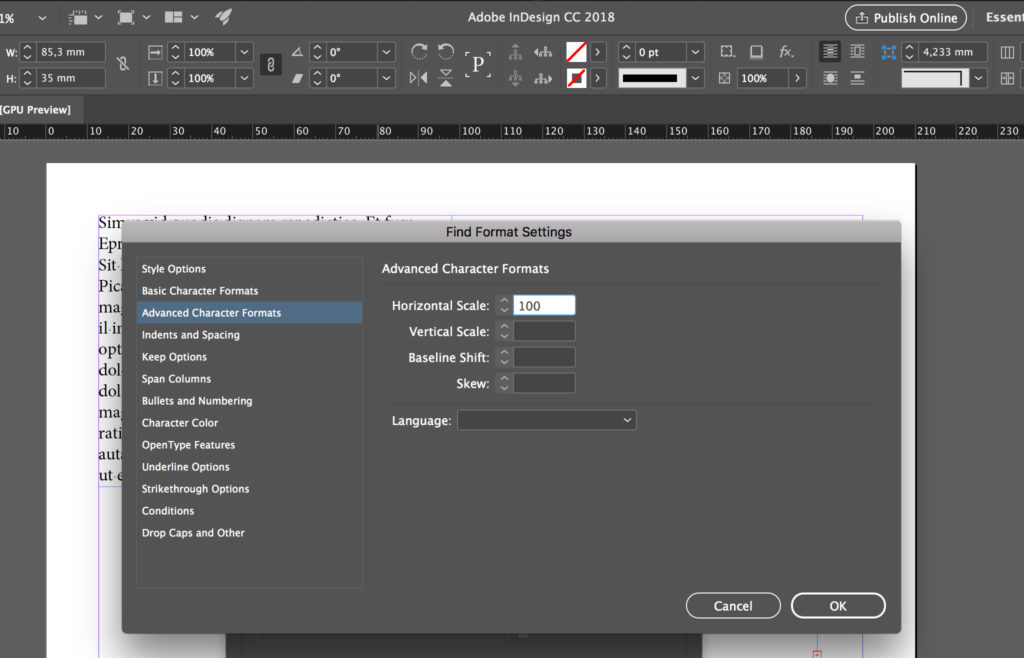
- Click on the first icon next to the Change Format field and set the Horizontal Scale and Vertical Scale to a lower percentage (e.g., 90%);
- Click on Change All – All the text in your document will be scaled to 90% and should fix the overflow text by taking up less space.
2. With a keyboard's assistance
This is the simplest way in this section and it is done with the help of your keyboard, in particular one button only.
Here is how to do it:
- Create two pages with a single text-frame (on the first page)
- Place some text in it and then load your cursor with the overset text
- Hold down your Shift key and click in the left corner of the margin area on the next page
- InDesign will automatically create new frames and add pages until the entire overset text is added - all at once.
3. By using Smart Text Reflow (if you need InDesign to behave like Word)
With Smart text reflow you can transform InDesign into Word.
By activating this feature, when your text reaches the limit of the page, InDesign automatically adds a new blank page and let you keep typing.
Additionally, if you paste some text, InDesign will automatically add as many pages as necessary in order to display all the text you added.
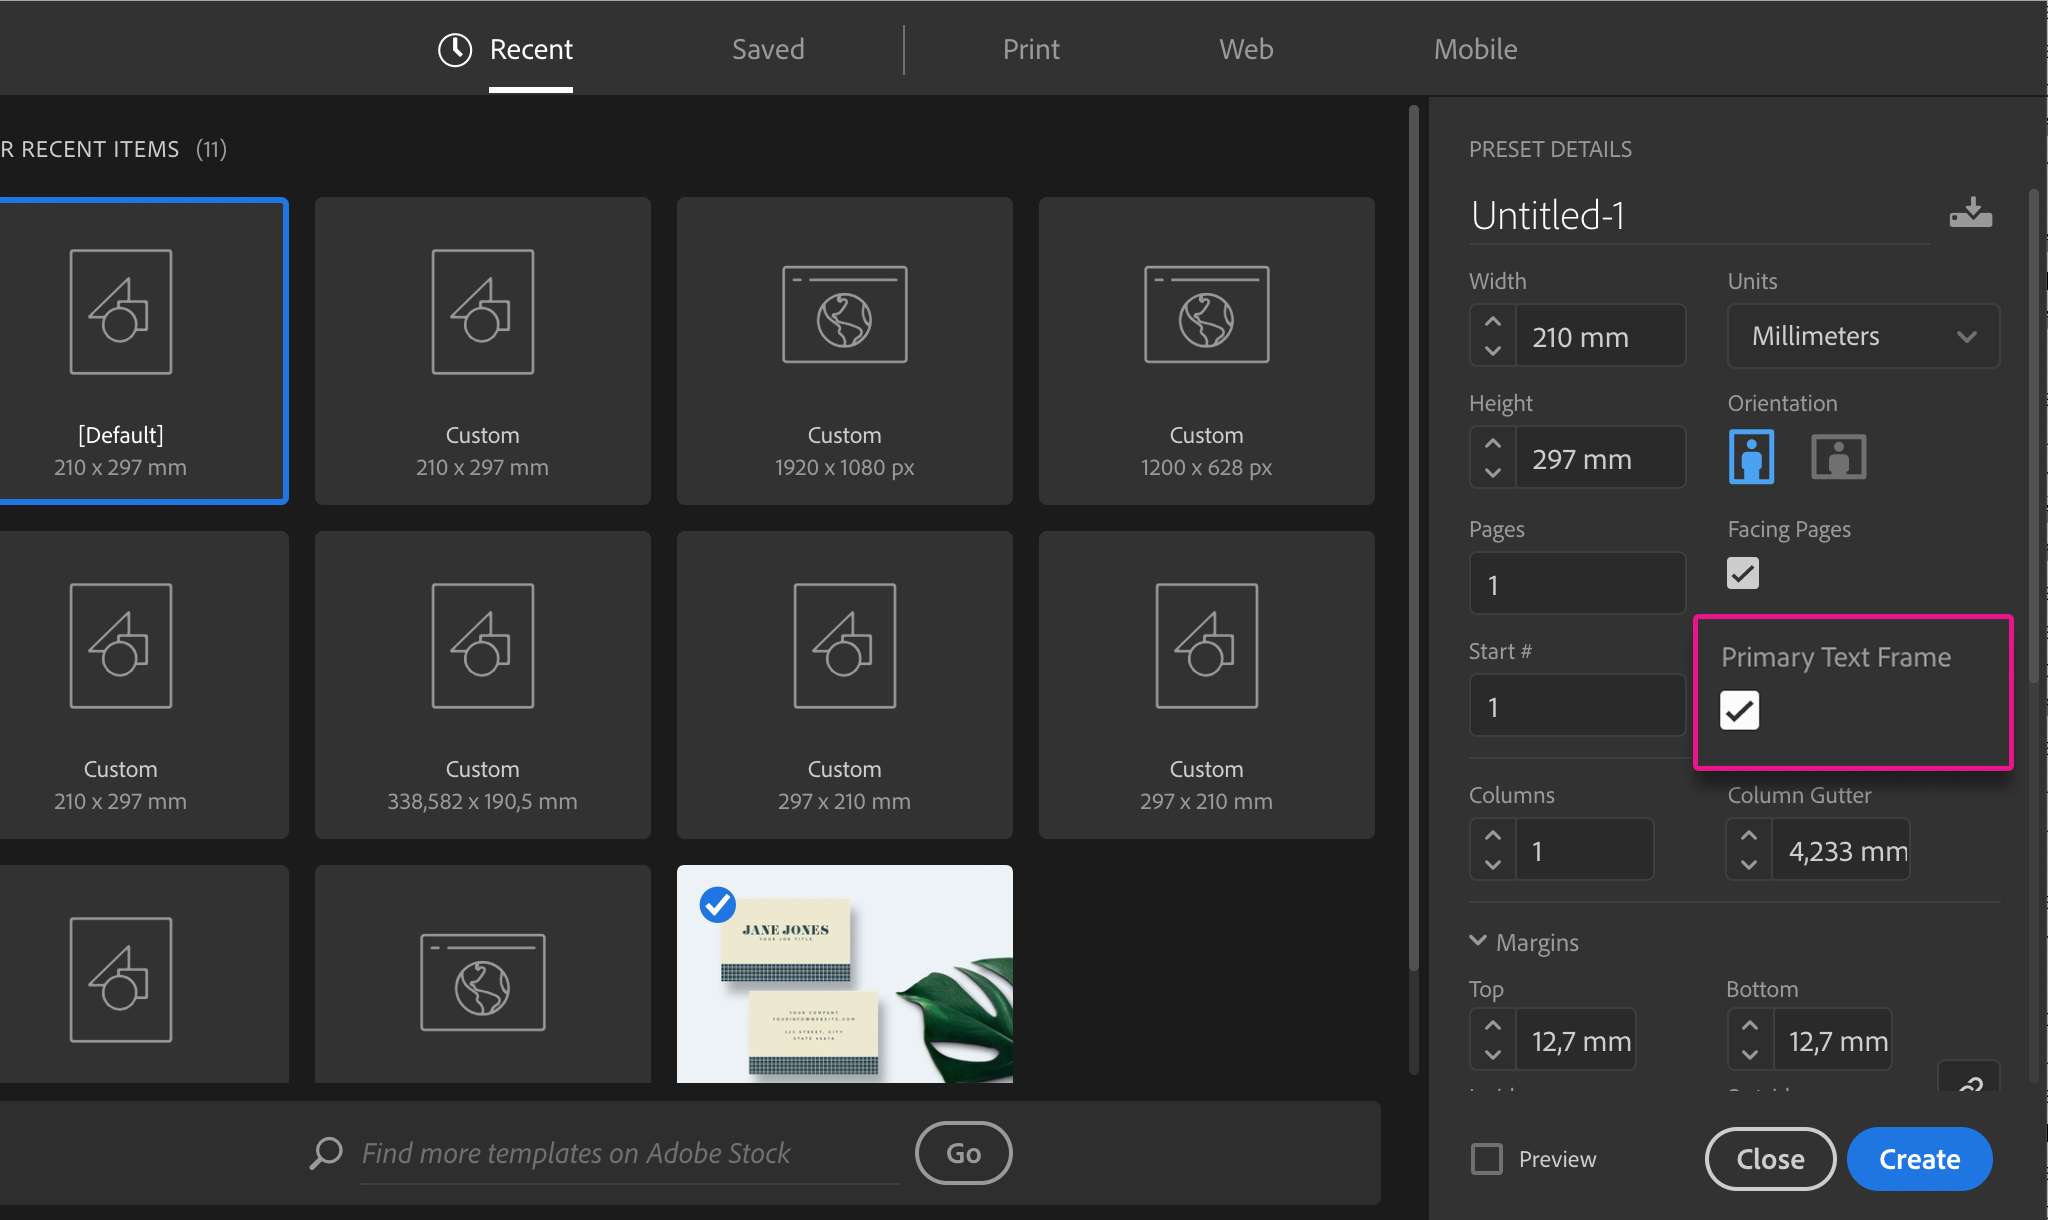
How do you set up Primary Text Frame
You can create a document with "Primary Text Frame" activated.
Otherwise, if you already have a document created.
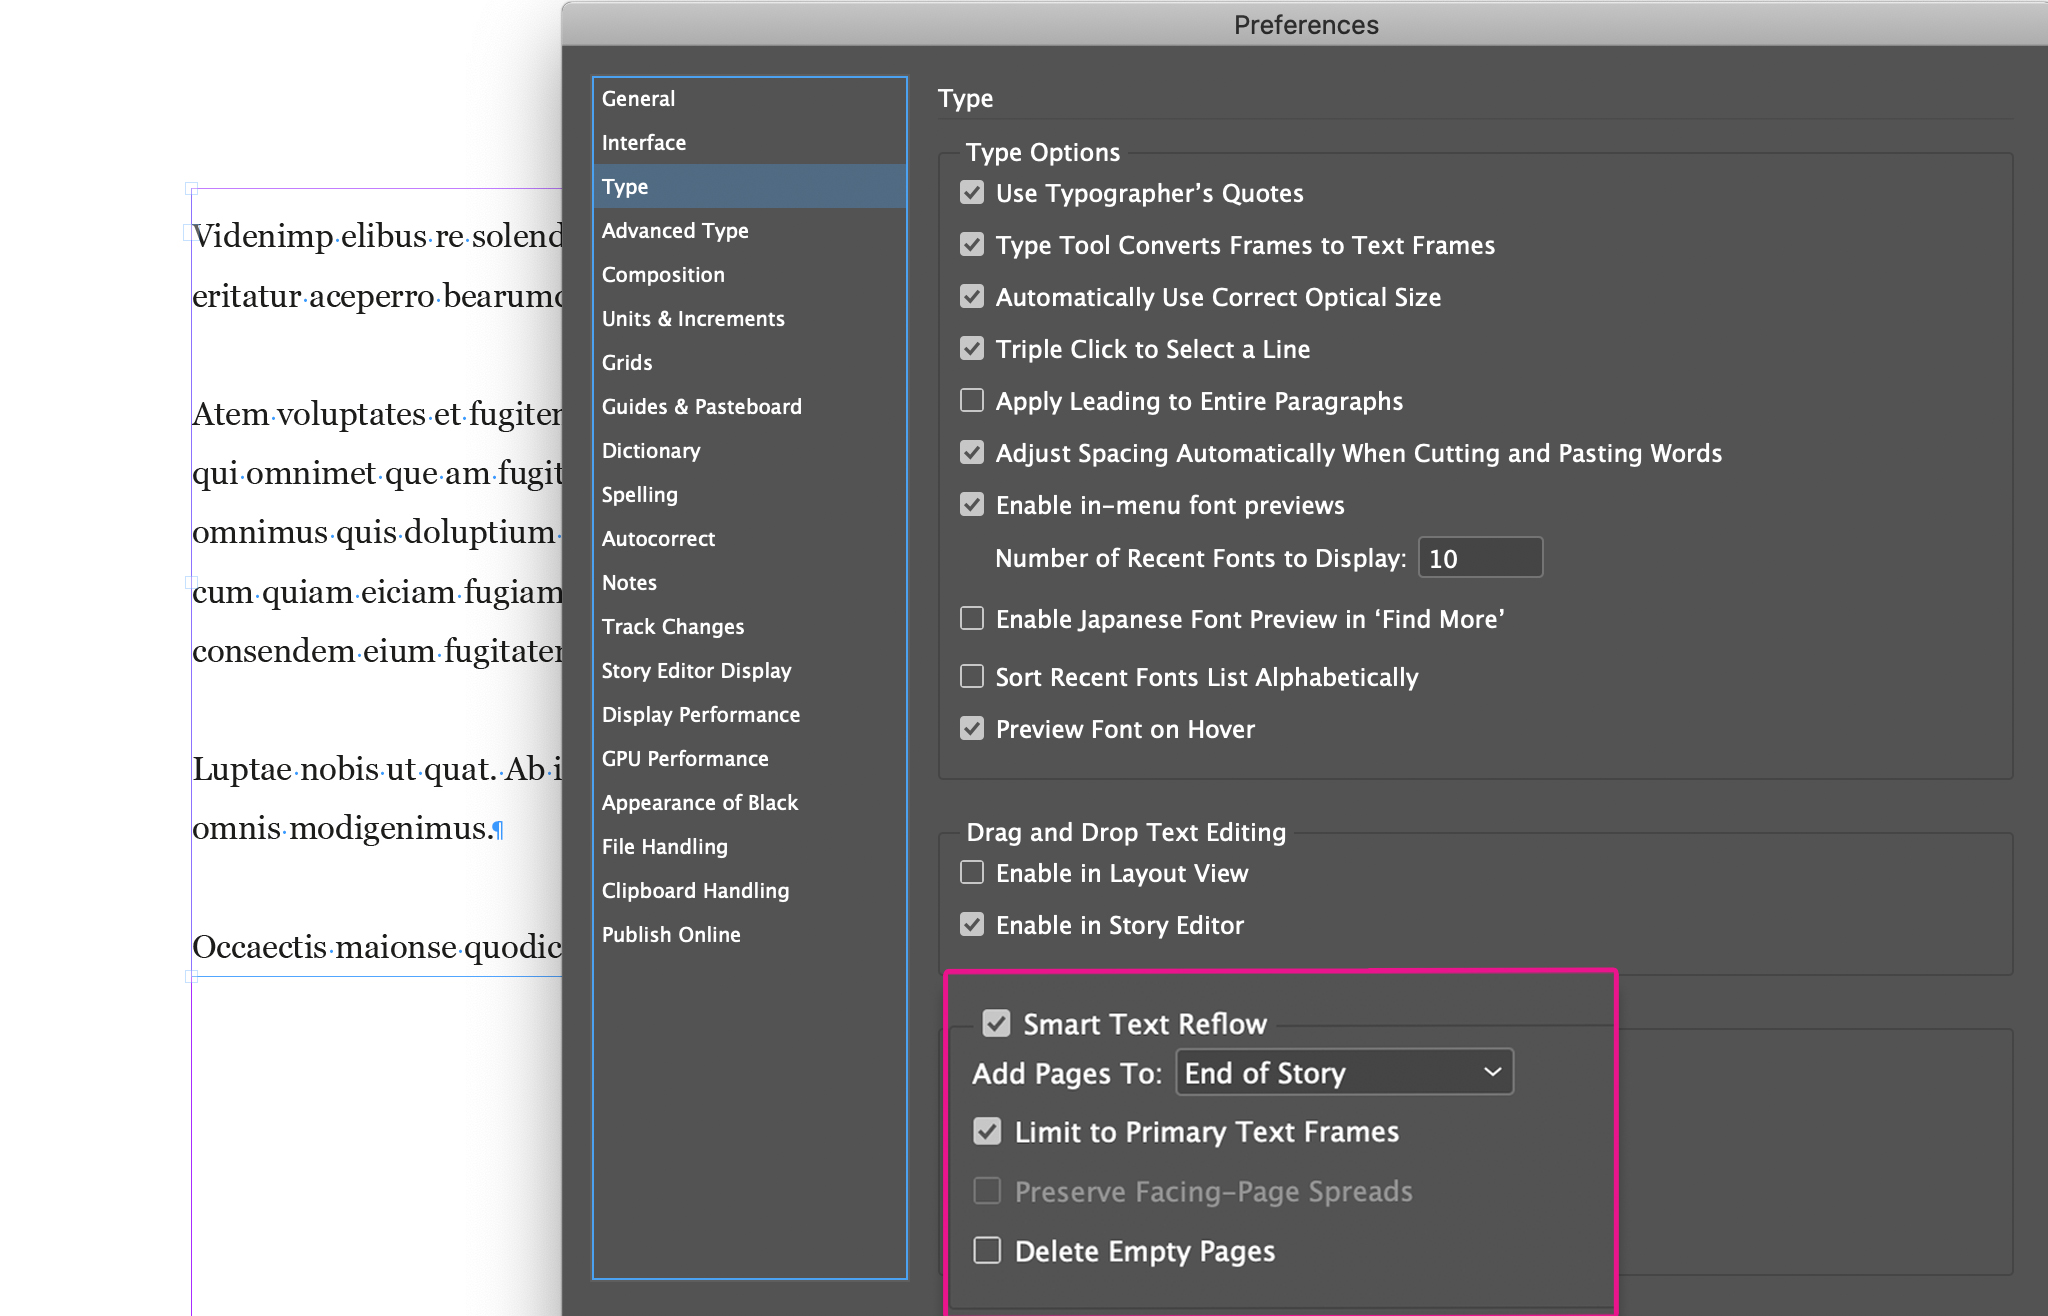
- Go to Edit > Preferences > Type (on Windows) or InDesign > Preferences >Type (on Mac OS)
- Make sure Smart Text Reflow is active.
Head back to your document and do the following steps in the exact same order.
- Create a Master Page (a double-facing one) with two separate text-frames and thread them together (thread them the way I've explained before).
- Next, make sure you have a single page in your document. Keep pressed Cmd + Alt on MacOs or Ctrl + Alt on Windows, and click on the page. You'll see that InDesign will pull-out the text-frame from the master.
- Place your text or start typing in this text frame, you'll notice that once your text reaches the bottom of the page, InDesign automatically adds a new page and lets you keep writing/placing text.
Yes, just like that! All of your text will flow and thread from one text frame into another.
Remember that there can only be one primary text frame on a document (all of the remaining will be regular).
2 Additional Tips to Master your Text and avoid the overset
Now that you know how to deal with overset text, I will also share with you 2 tips on how to master the text in your InDesign document.
Learning them will allow you to have complete control over each text frame (and its contained text).
- Make the text jump
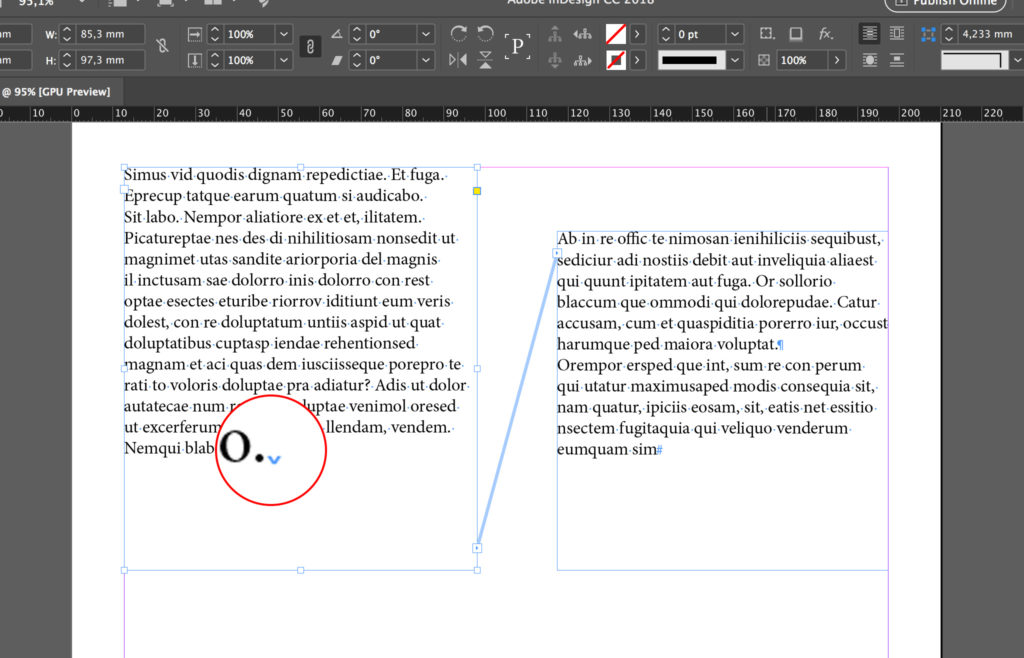
As illustrated in the picture, we often size text-boxes so that the text from a first box flows into a second one.
This is a very common way of dealing with text, but there is actually a better method.
By using “Column Breaks” you can control your text in a more precise and efficient way.
Columns breaks allow you to:
- edit the text without having to trigger changes to the layout
- replace your text with a shorter text
- replace your text with a longer text
You can insert a “Column Break” in InDesign by pressing Fn + Return in your keyboard or by clicking on Type > Insert Break Character > Column Break.
Note: There are more break characters. I prefer to use the “Column break” because it allows you to jump from both a column to another and from a text box to another by using the same character.
[Advanced TIP] Use a paragraph style
When I create the Paragraph Styles, I generally start from a Style that I use as a base to which I link all my other Styles.
When I am about to finish my document, I set this paragraph to have Horizontal Scale to 130%.
It results in all the text taking up much more space than it should. At this point, I insert “Column breaks” at the end of each chunk of text and resize the frame to contain the correct text before setting the Horizontal Scale back to 100% .
Check this post to learn how to use Paragraph Styles like a pro and download the boilerplate I use for my projects in InDesign.
Conclusion
The overset text issue is a common one so learning how to deal with it is essential. Choose your preferred method based on whether you are dealing with a small amount of text or a multi-page document.
However, I encourage you to try both manual and automated solutions. You will be surprised by how convenient and time-saving some of them will be.
Until next time,
Stefano


