


Images and other objects (like tables, text frames or shapes) can be placed in InDesign in a few ways: by simply positioning them into the spread, as inline objects, or as anchored objects.
To control the flow of the text around these objects and the space between them and the text, we can use the objects’ wrap options.
Let’s start to see the basic options. If you need to skip to a specific section, click on one of the links here:
- Activating the Text Wrap Panel
- Wrap the text
- Adjust the distance between text and object
- Detect the edges of an image when text wrapping
- Wrap text around images with caption
- Wrap text around an anchored object or an inline object
- Text wrap and master pages
- Text wrap and hidden layers
- Ignore text wrap in a text frame
- Wrap inside an image or shape (invert text wrap)
- Text wrap misbehavior
Wrap text around an image or another object
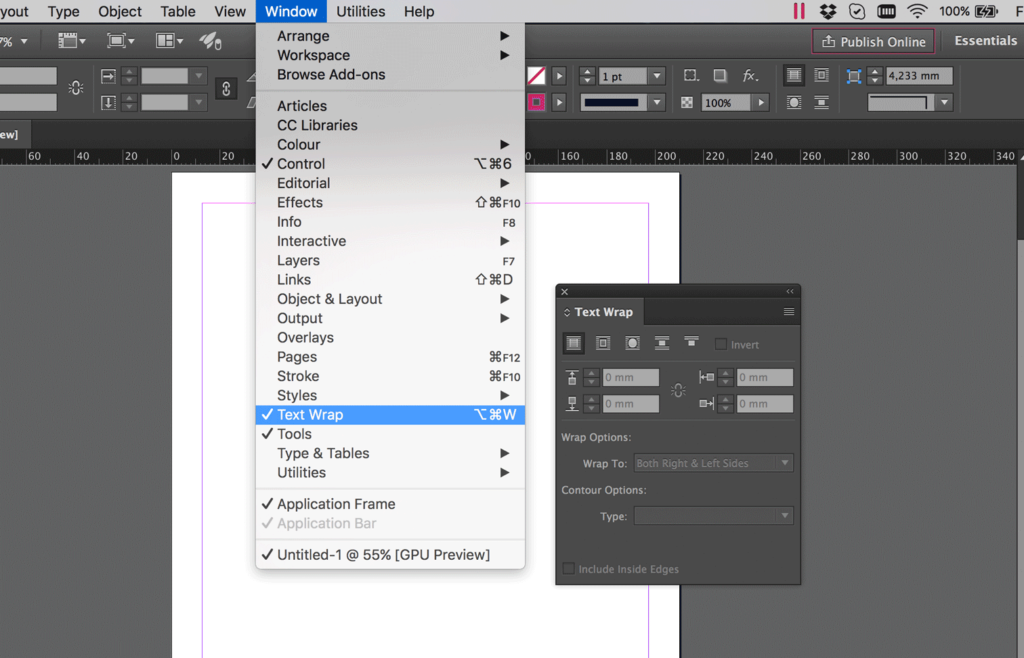
Activating the Text Wrap Panel
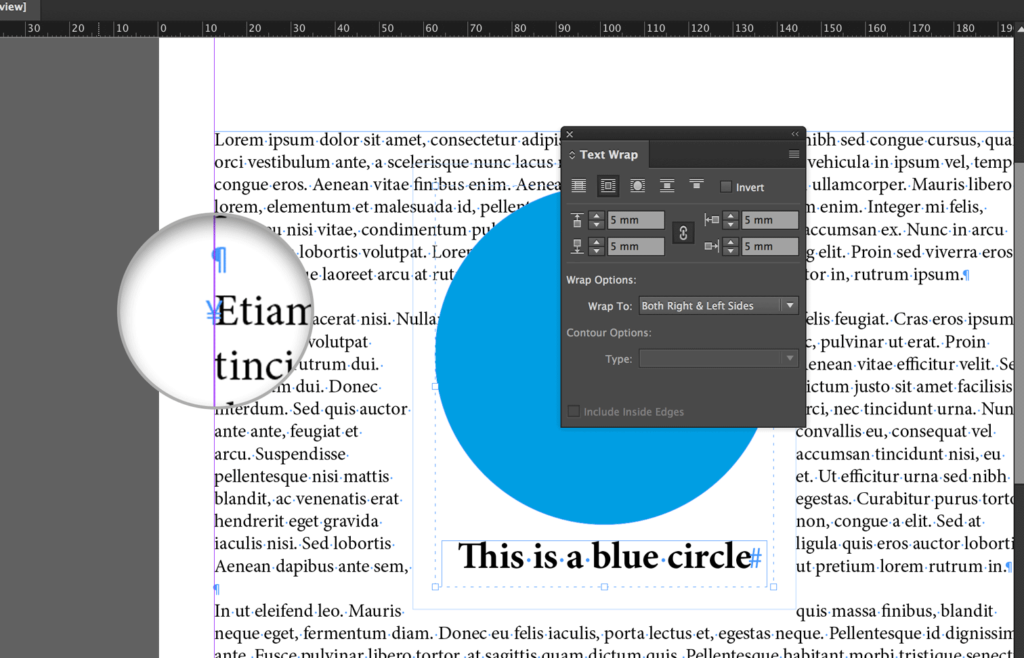
From the Text Wrap panel you can change the wrap options of each object (The same options are also available in the menu bar).
- Click on Window and then Text Wrap to activate the panel.
Wrap the text
By default, any object you place in InDesign is set to No Text Wrap (A).
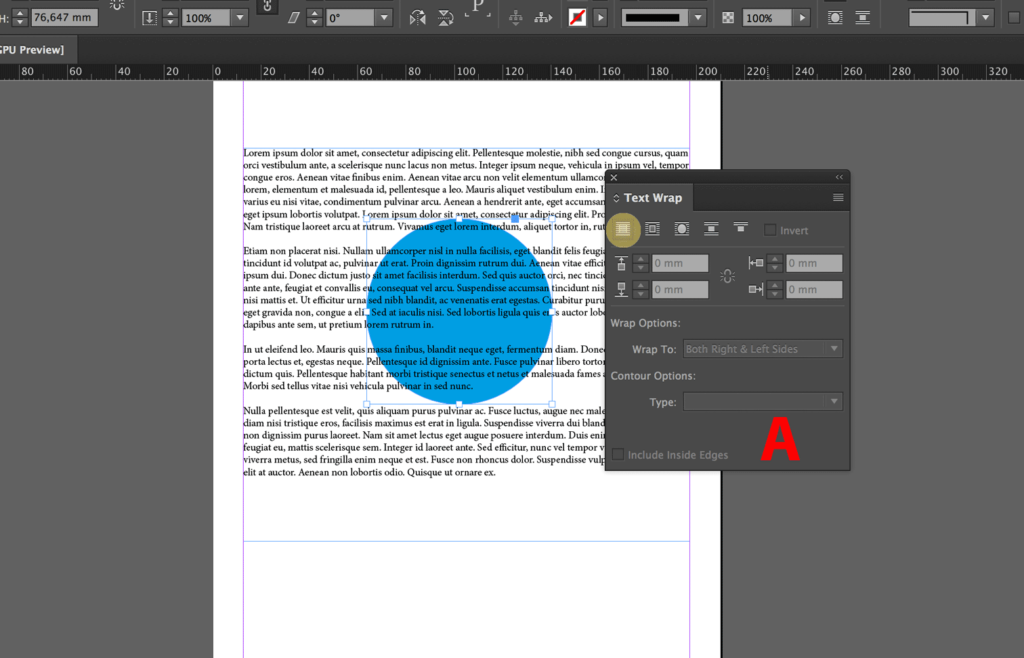
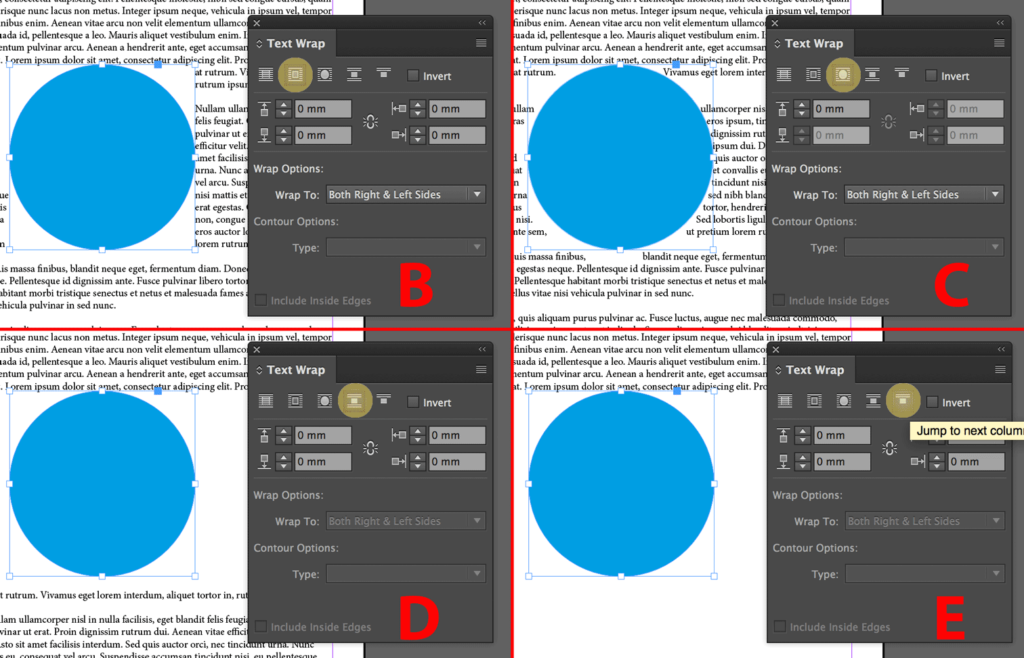
Select the object to change this option. You can change it to:
B. Wrap Around Bounding Box: wraps the text around the bounding box
C. Wrap Around Object Shape: creates a text wrap boundary around the shape you selected. This option is interesting because it can also detect the edges of an image and, consequently, wrap the text around it.
D. Jump Object: forces the text above and below the object (The text won’t appear beside the object at all)
E. Jump To Next Column: forces the surrounding paragraph to the top of the next column (or text frame).
Here is the result for each option:
Adjust the distance between text and object
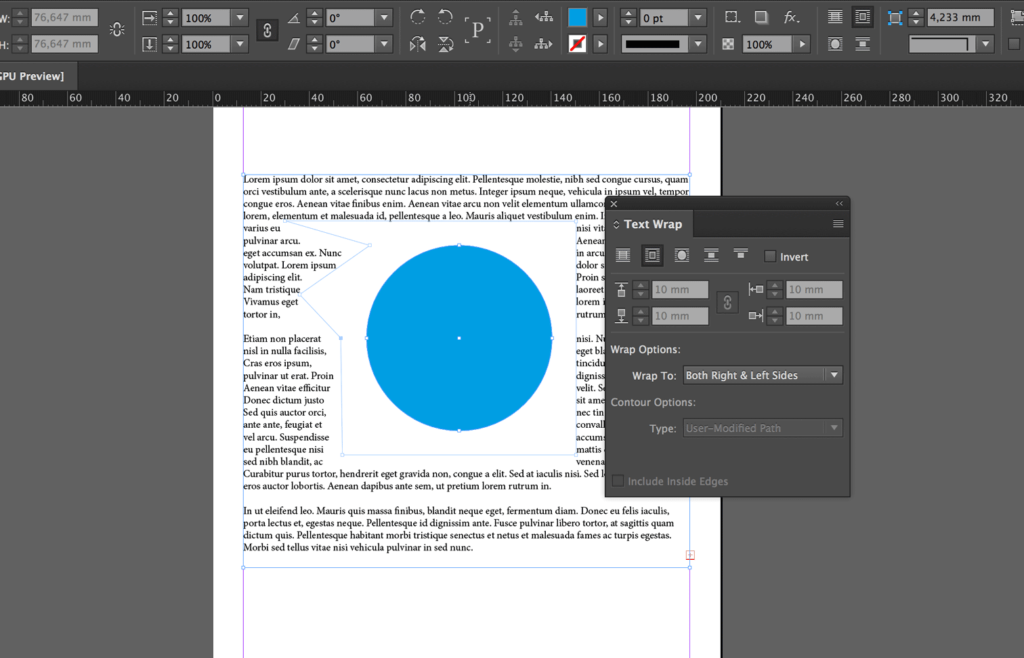
You can set the distance between the text and around the object by changing the offset values and the wrap options.
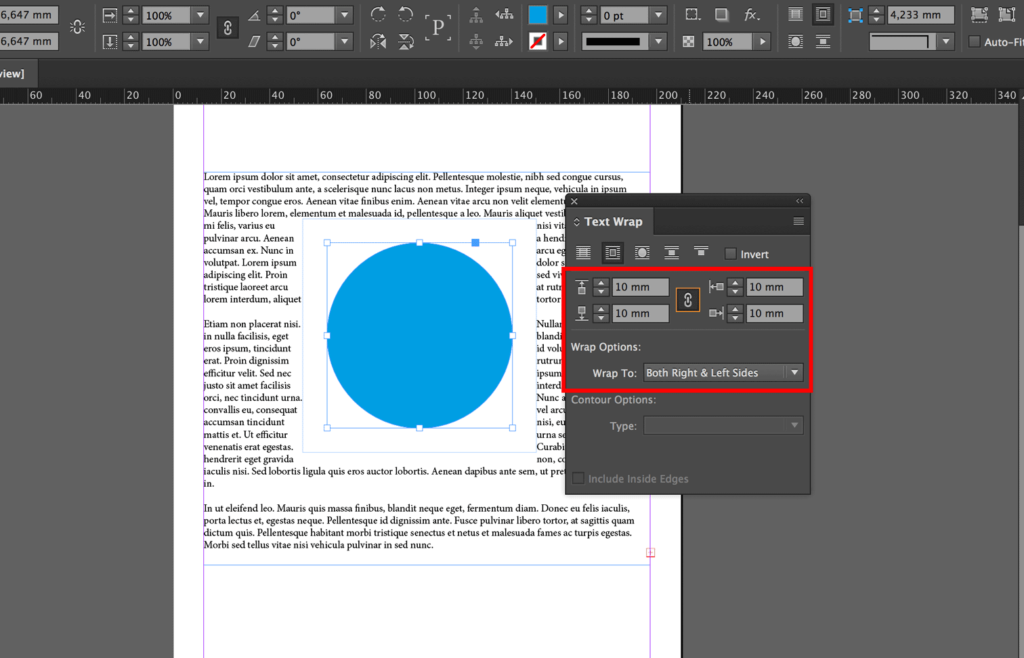
This creates a boundary that you can eventually personalize using the Direct Selection tool (The white arrow to be more clear) or the Pen tool.
Detect the edges of an image when text wrapping
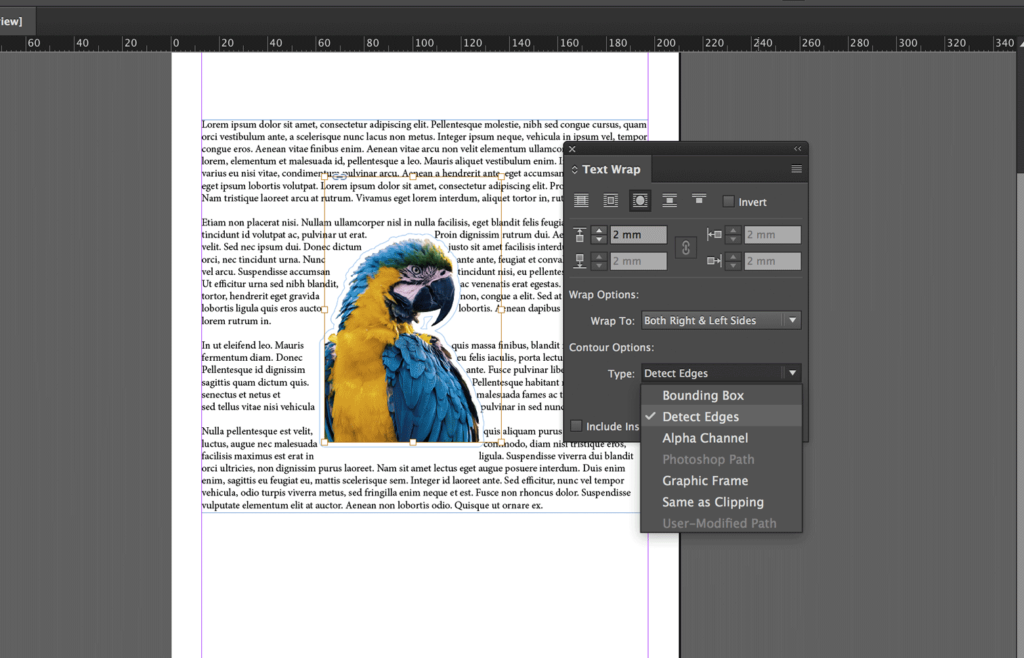
InDesign can detect the edge of a picture and generate a boundary that you can use to wrap the text around it (or inside the image).
- Select Wrap Around Object Shape in the Text Wrap Panel, and then set Detect Edges as type.
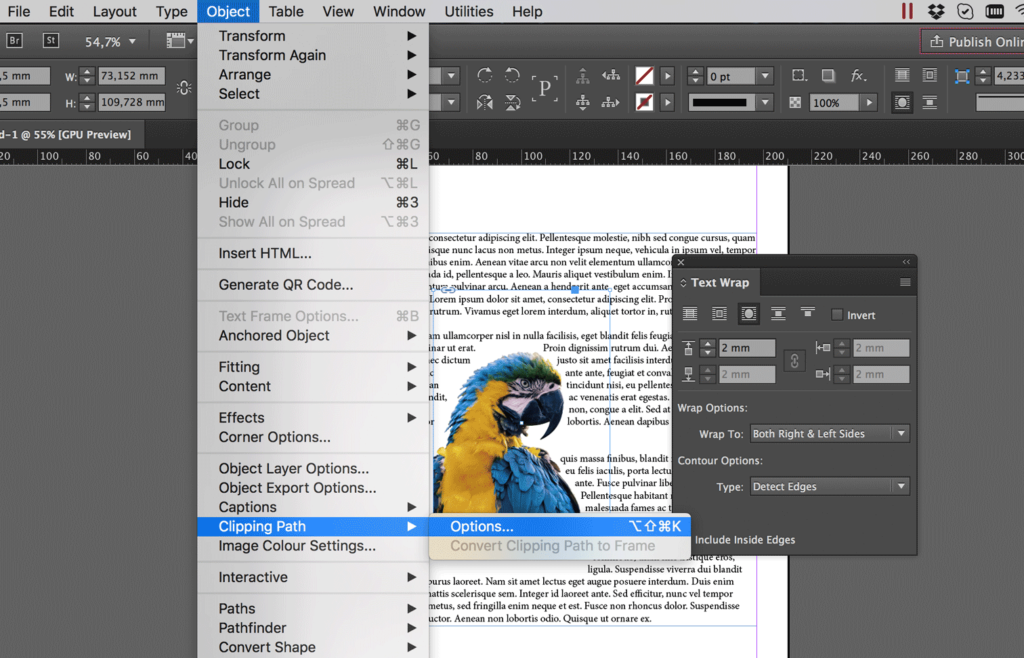
- You can adjust the edge detection by selecting the object and choosing Object > Clipping Path > Options.
Wrap text around images with caption
A group of objects acts like a single object. So, the best way to wrap the text around an image with a caption is to group the image and the caption, and then set the Text Wrap to the group (and eventually anchor the group).
Wrap text around an anchored object or an inline object
The text wrap properties in an anchored object affect only the lines of text following the anchor marker, not the line in which the anchor marker is placed or the lines before it. Inline objects are anchored objects, so the same rule is applied.
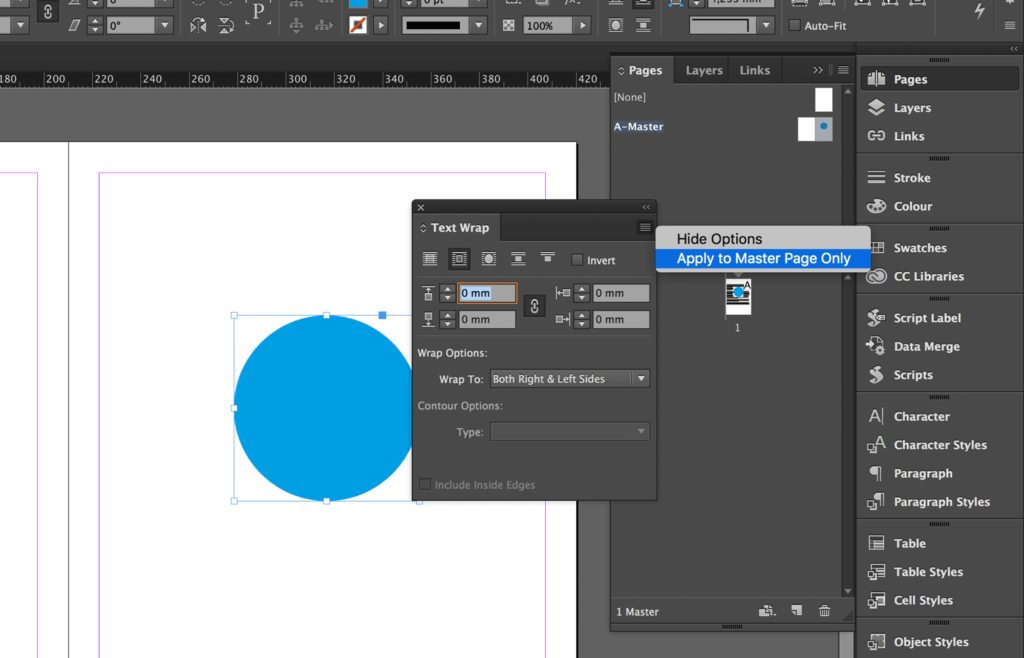
Text wrap and master pages
To objects placed into master pages you can set the text to always wrap around the image (default when Text Wrap active), or only the text placed into the master page by activating Apply to Master Page Only.
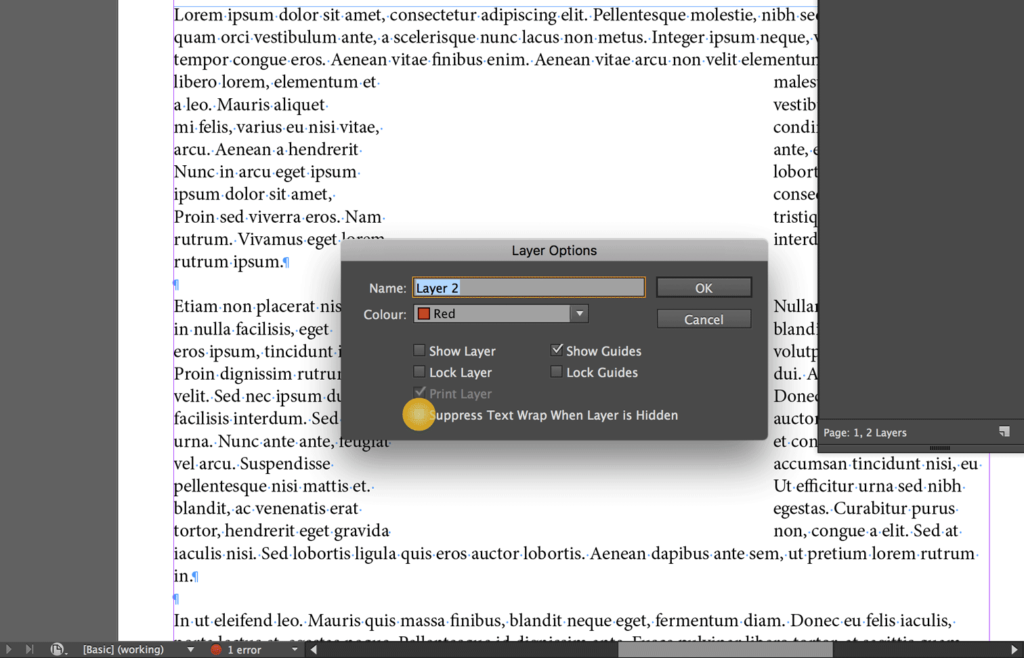
Text wrap and hidden layers
As default, a wrap object affects text frames in all the layers even when its layer is hidden . To change this behavior, you need to select the Suppress Text Wrap When Layer Is Hidden option in the Layer Option dialog box.
This option can cause a recomposition of the text placed in other layers.
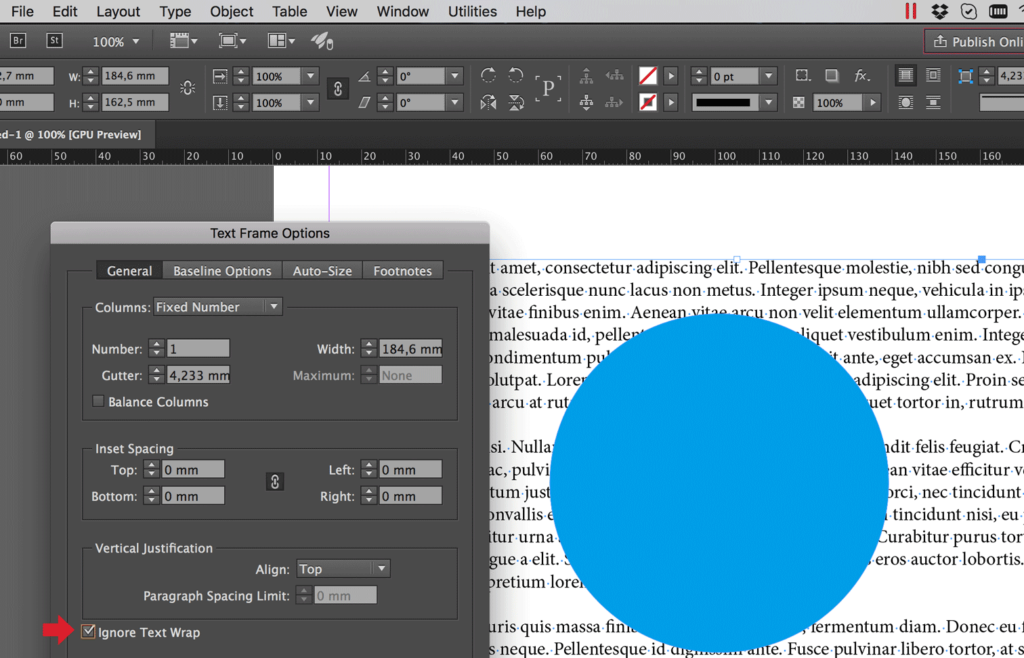
Ignore text wrap in a text frame
To set a text frame to ignore any wrap option:
- Select the text frame.
- Click on Object and select Text Frame Options (Otherwise you can press Cmd + B on MacOs or Ctrl + B on Windows)
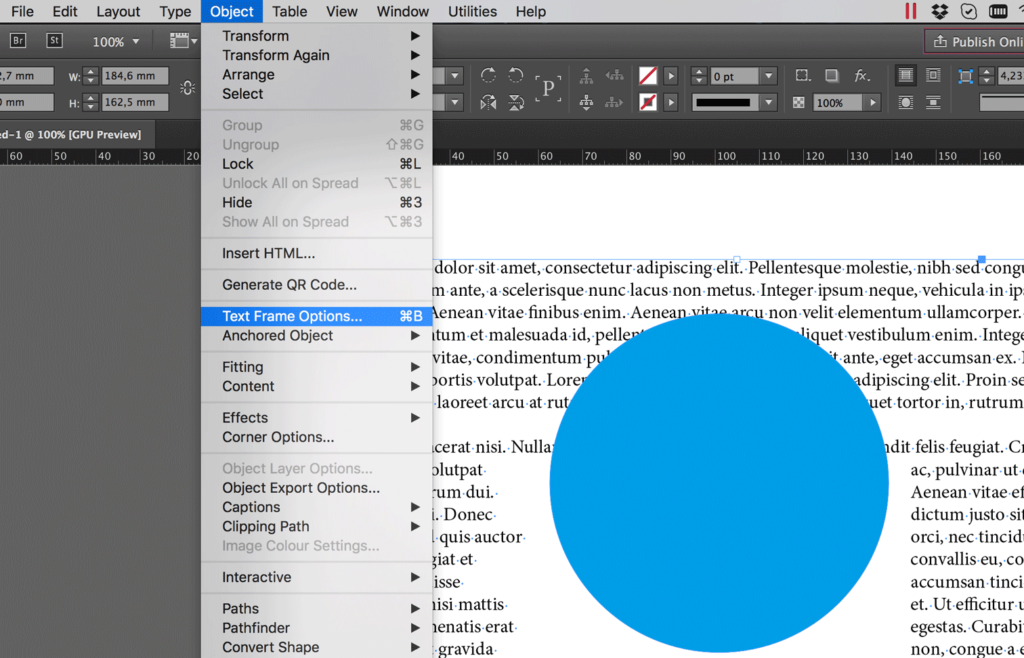
- Select the Ignore Text Wrap option.
Wrap inside an image or shape (invert text wrap)
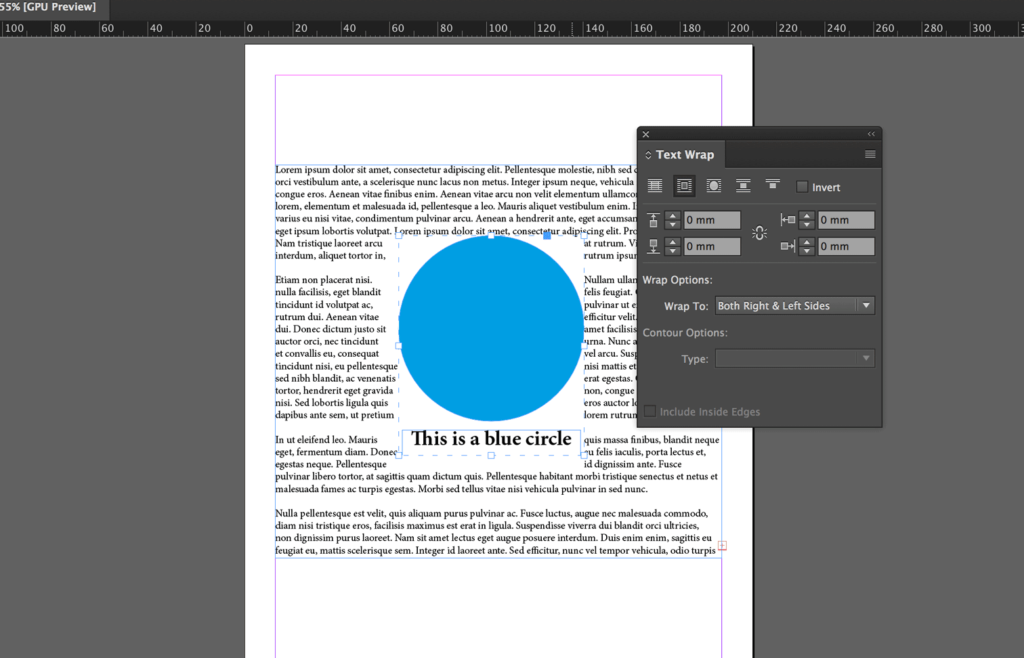
To wrap some text inside an image, you can use the Invert option.
- Select the object you want the text to wrap inside.
- Set Wrap around object shape and Detect Edges as type.
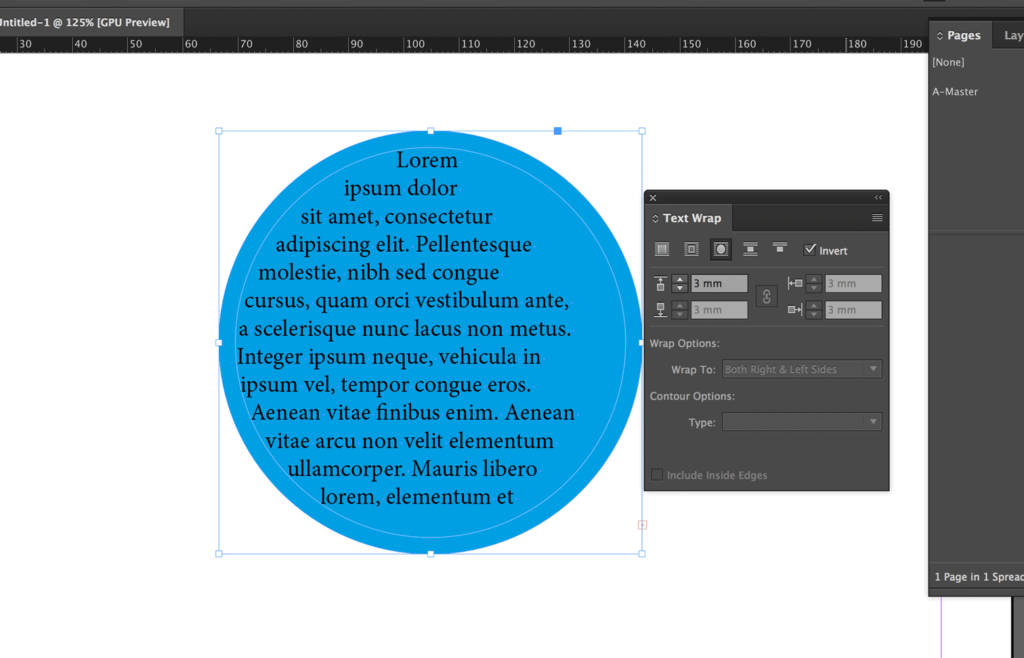
- Place the text above the shape.
You can adapt the Offset to your needs in order to make the text go over the borders, or add some space between the text and the edge of the shape. Also, you can personalize the wrap boundary using the Direct Selection tool (The white arrow to be more clear) or the Pen tool.
Text wrap misbehavior
If InDesign is giving you a headache with text wrap, see this checklist by InDesignSecrets to identify the problem, or feel free to drop a comment below.
Subscribe to our newsletter to stay updated with new posts or updates, and feel free to send me any feedback you might have related to the topics covered in this post. If you liked the post, I'd really appreciate you sharing it!
The best articles on the blog
Here is a list of the most read articles on the blog:
- 48 InDesign tutorials to dramatically improve your skills
- The Best InDesign courses
- 200+ Must-Have InDesign Scripts
- 20 Most Common InDesign mistakes
- Data Merge InDesign: Quick Tutorial (Updated CC 2020)
- InDesign: Choosing a multilingual publishing solution
- 45+ Essential InDesign plugins
- InDesign shortcuts (Printable cheat sheet)
- 75 Fresh InDesign templates (divided into groups)


