


Use the links to go directly to the section you’d like to learn about, and let me know in the comments if you have questions so that I can improve the post.
Click here:
- What is an InDesign book?
- When and why should you use a book file instead of a document?
- Is it possible to convert a document to a book in InDesign?
- Create an InDesign book file
- Add documents to a book file
- Open a document from the book file
- Remove a document from the book file
- Replace a document inside the book file
- Styles and Master Pages in books
- Table Of Contents in an InDesign book
- Scripts for book files
What is an InDesign book?
A book is a special type of file you can create with InDesign. The book file works as a collector to which you can link your InDesign documents.
When and why should you use a book file instead of a document?
Are you working on a book with many chapters? Or a catalog with different sections? Do you produce user manualsand some sections/chapters repeat between your documents?
InDesign books can help you with all of that.
The book allows you to divide each chapter/section in an InDesign file and then link all the documents to build a publication.
One InDesign document can belong to multiple book files.
The advantages of using books instead of a single big InDesign document are:
- If the document is an ePub, the e-reader will be faster at loading each chapter because it won’t need to load the entire book
- You can link an InDesign document to many books
- Many people can work on the project at the same time (one for each InDesign file)
- Documents are lighter, so you need less power to work on them
- It’s easier to move around chapters/sections of your documents (let’s say you want to move chapter 5 to the beginning of your book, with a book file you can do it with a single drag and drop)
Important Note on Endnotes:
While the book feature in InDesign is useful for managing large projects, it’s important to note that endnotes can only be placed at the end of each individual document (or chapter) in book mode. This can be a drawback for projects that require numerous citations or endnotes, as placing them at the end of each section may disrupt the overall flow. Be mindful of this limitation when working on documents that rely heavily on endnotes.
Is it possible to convert a document to a book in InDesign?
Unfortunately converting a document to an InDesign book requires some manual work, but the process is actually rather quick and simple.
You should:
- Create a separate InDesign document for each section
- Create the InDesign book (see below for further information)
- Add all the InDesign documents to the book
- At this point, you should check the page numbering of the book (here is how to properly add page numbers in InDesign)
InDesign should automatically handle it, and it continues the numeration from one document to another as if it were a single entire document.
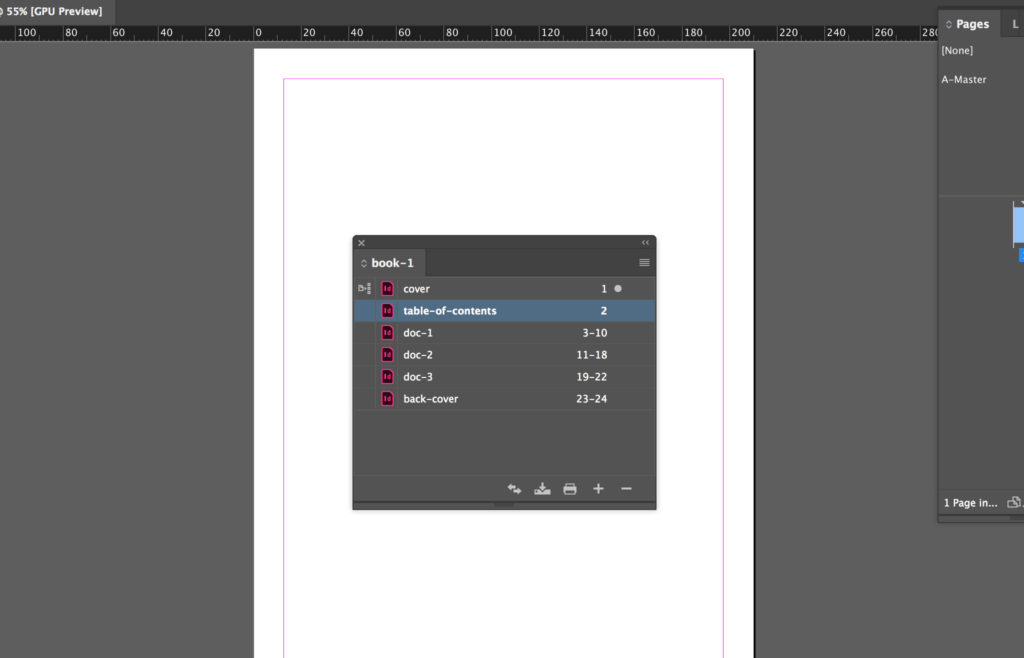
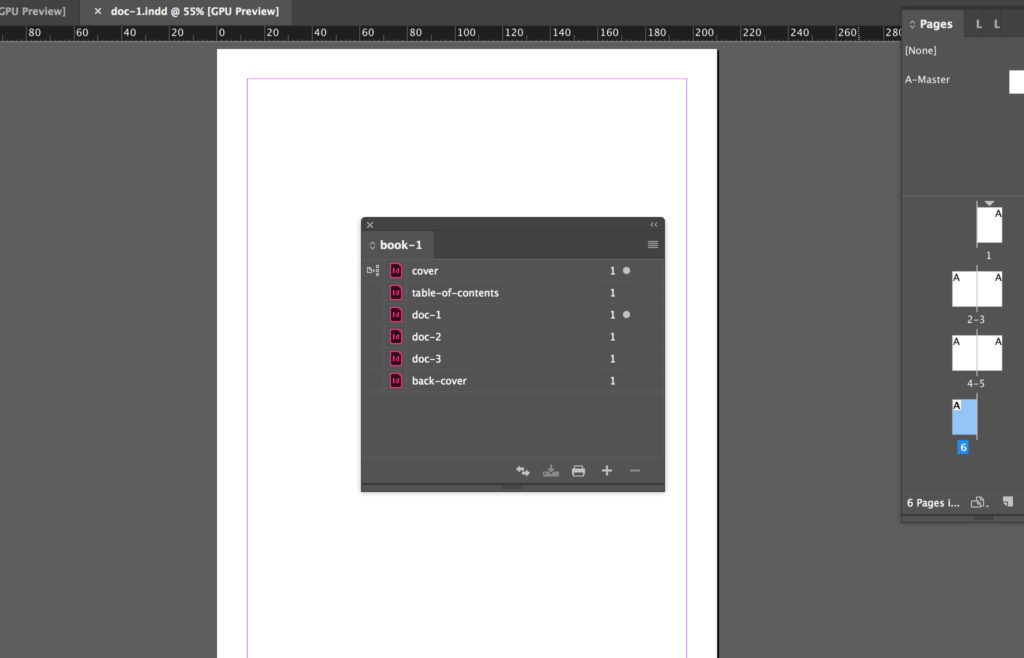
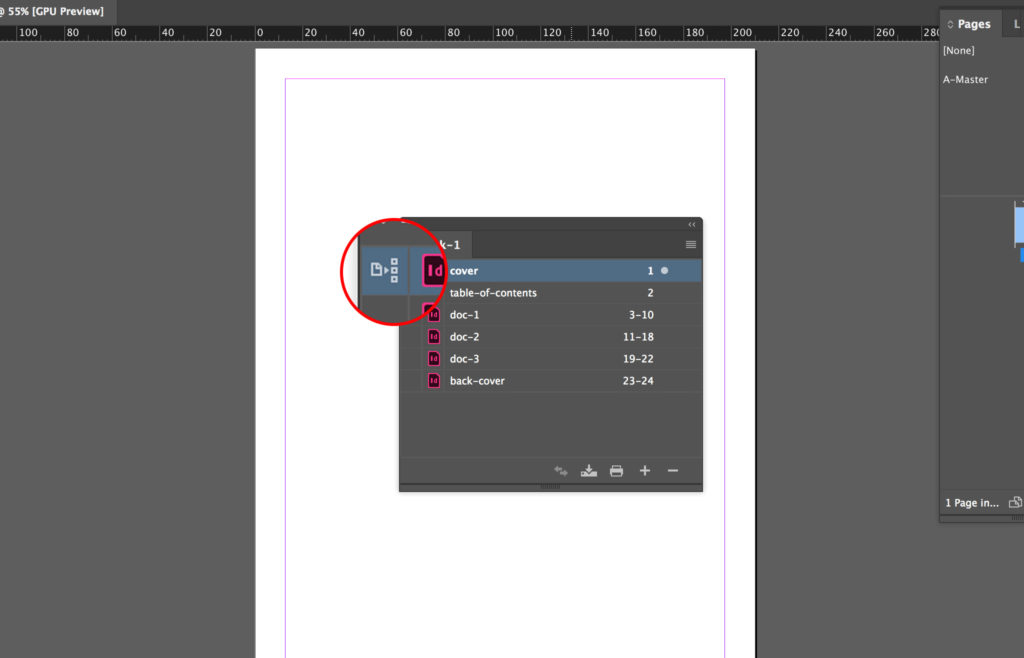
However, if that doesn’t happen, and your page panel looks like the screenshot below, then you should fix the settings of the InDesign book.
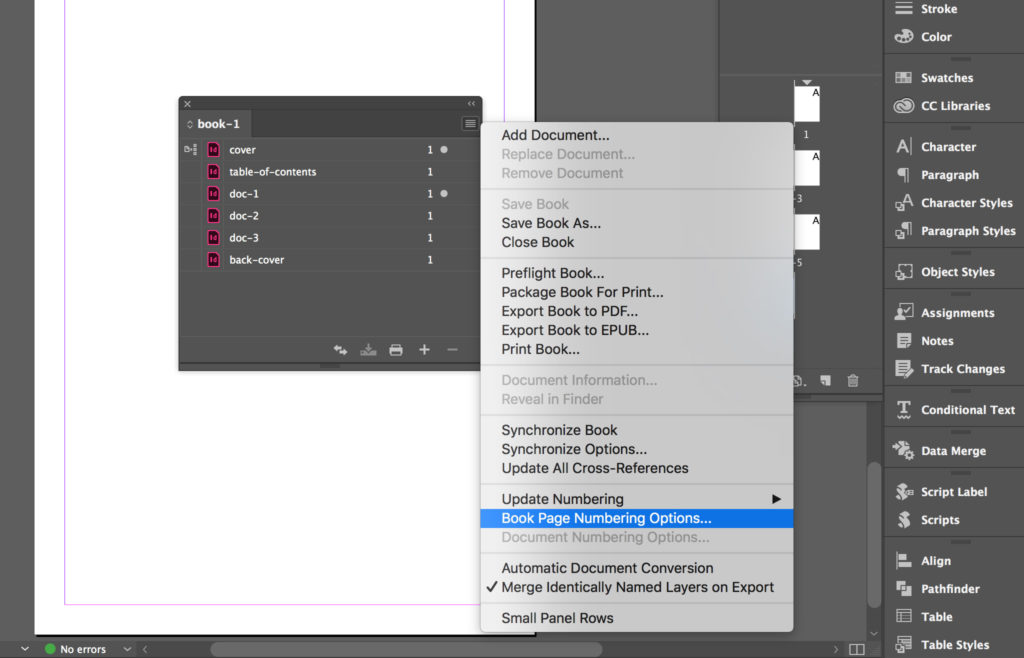
- To do so, click on the icon in the top-right corner of the page panel, and click on Book Page Numbering Options.
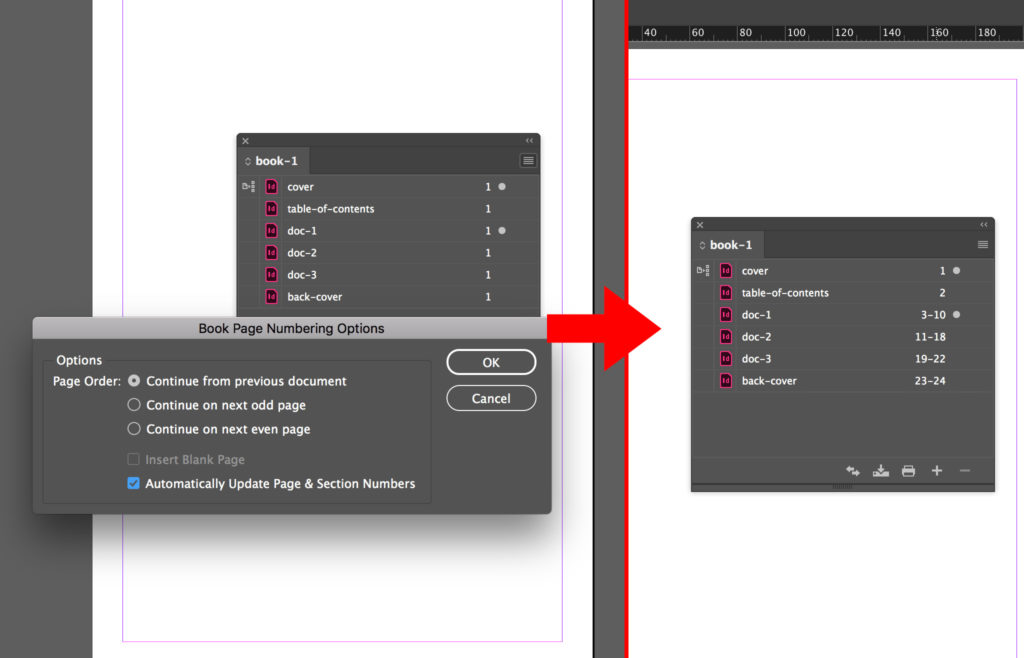
- Make sure the settings are Continue from previous document and Automatically Update Page & Section Numbers.
Create an InDesign book file
Creating a book file in InDesign is very simple.
- Open InDesign and click on File > New > Book.
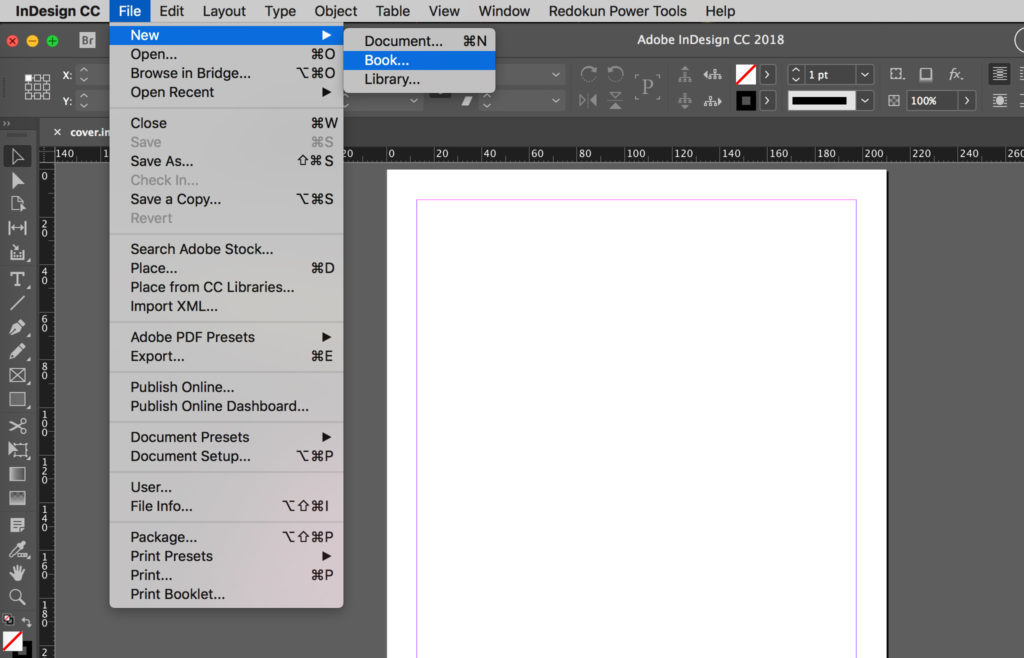
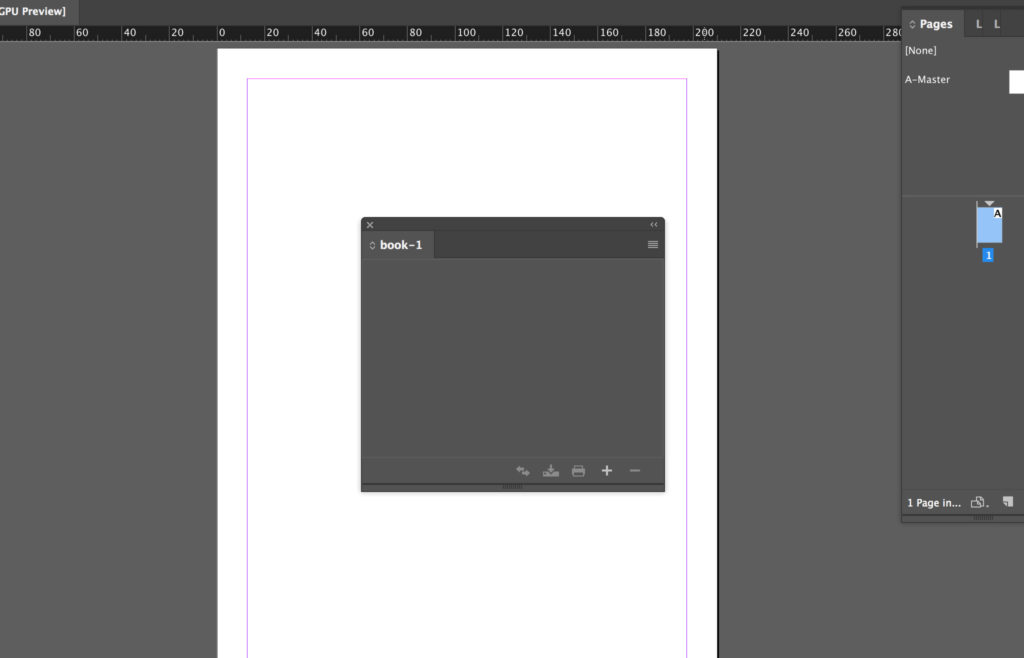
- Type the book name, specify a location, and then click Save. You have created the book file in the specified location, and the book panel opens up automatically. The book has the extension .indb.
Add documents to a book file
Adding documents to an InDesign book is very simple.
- With your book open, click on the + in the book panel.
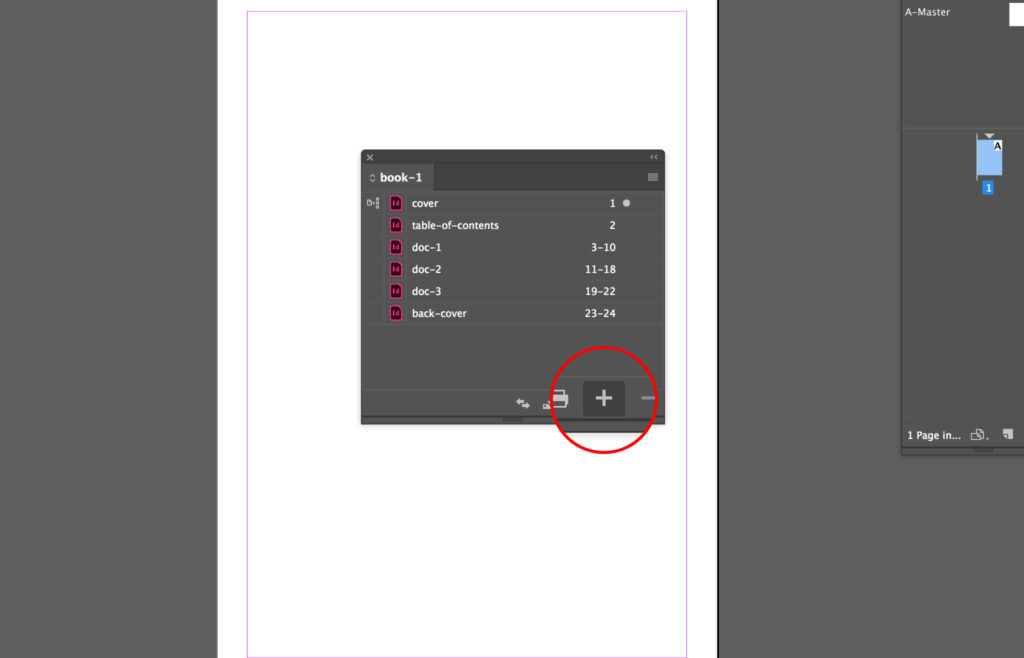
- Select the documents you want to add. Then click Open.
- Drag & Drop the documents in the book panel to change their order.
Open a document from the book file
To open one of the documents contained in the book double-click on the name of the document.
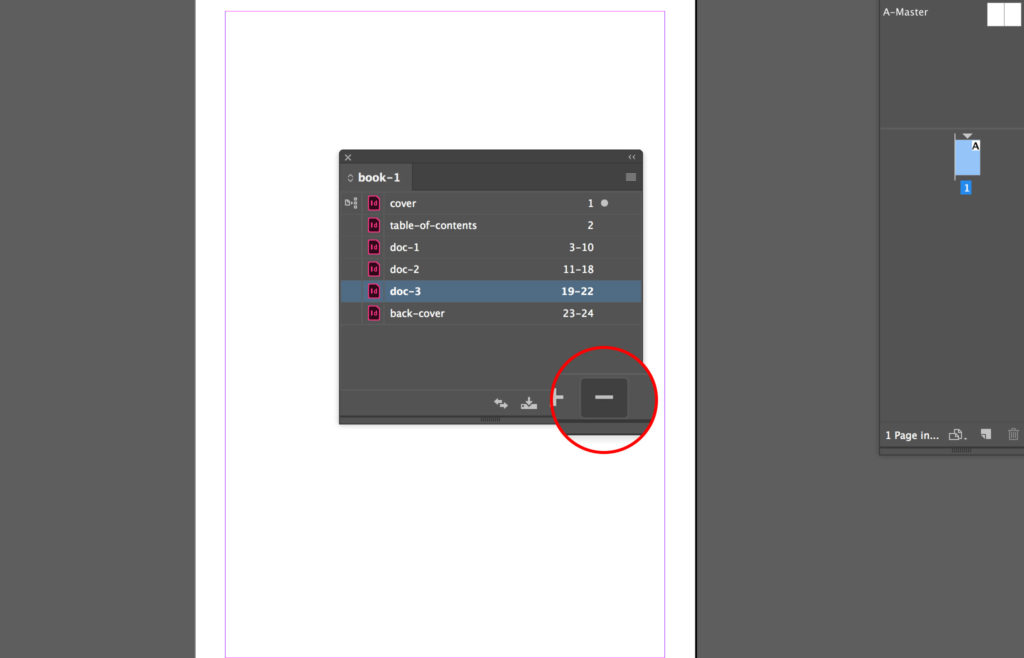
Remove a document from the book file
- Select the document and click on the - icon to remove a document from the book.
Replace a document inside the book file
- Select the document and click on the top icon of the book Panel. Now select Replace Document…
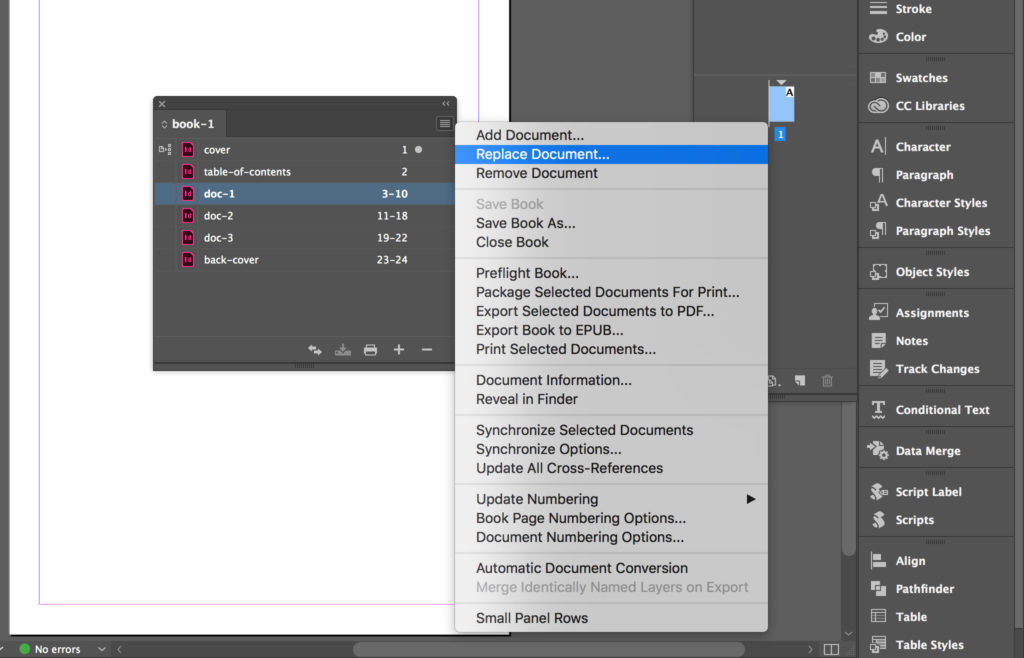
- Select the new document and click on Open.
Styles and Master Pages in books
You can copy styles, master pages, variables, presets, cross-reference formats, conditional text settings, numbered lists, and swatches from a selected InDesign document to all the others.
Uncertain about how to create and use them best? Here are reminders about how to use InDesign Master Pages, Paragraph Styles, and InDesign Numbered Lists.
Before doing this, you should:
- Close all the documents in InDesign.
- Select the source InDesign document by clicking on the empty box next to the document name contained in the book panel.
Notice that this document will pilot all the styles of your publication, and this is very important, especially with ePubs. It’s also very practical to have all the styles in one document because you’ll be faster at editing them and can easily synchronize any changes you make.
Important! If you are working in an ePub, make sure that this document contains all the styles. InDesign will use the document to create the CSS for your project. If any style is missing in this document, then it won’t be created and won’t be applied to your text.
See “how to copy styles from another InDesign document”.
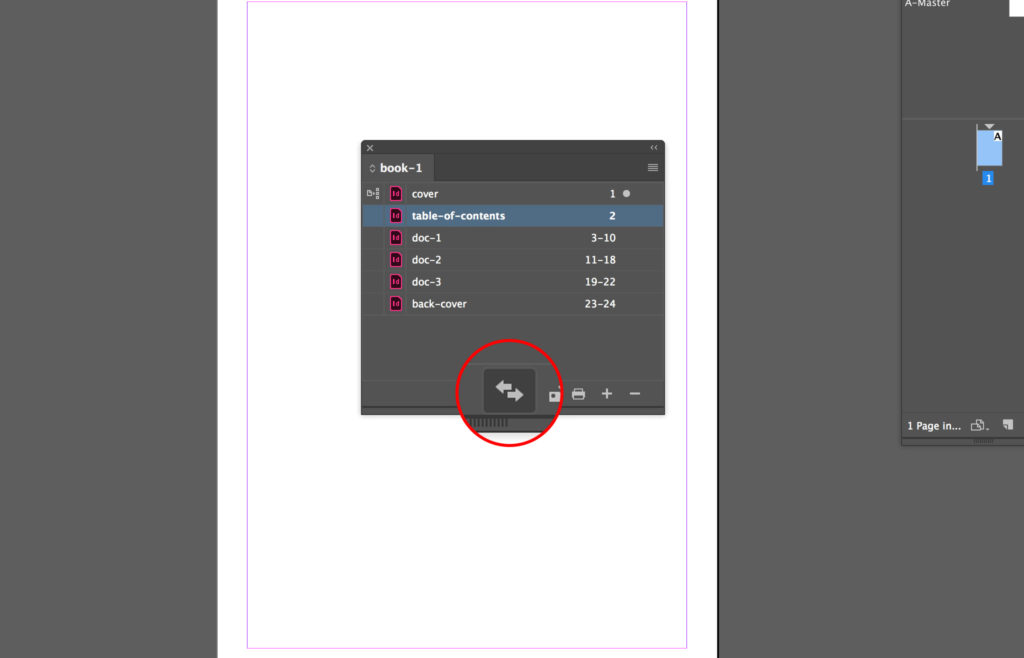
- Click on the Synchronize icon. InDesign will open each document, automatically apply changes, save, and close the document.
Notice that you can decide which types of information to synchronize by clicking on the icon on the top-right corner of the book Panel and selecting Synchronize Options… or keeping the Alt key pressed while clicking on the synchronize icon.
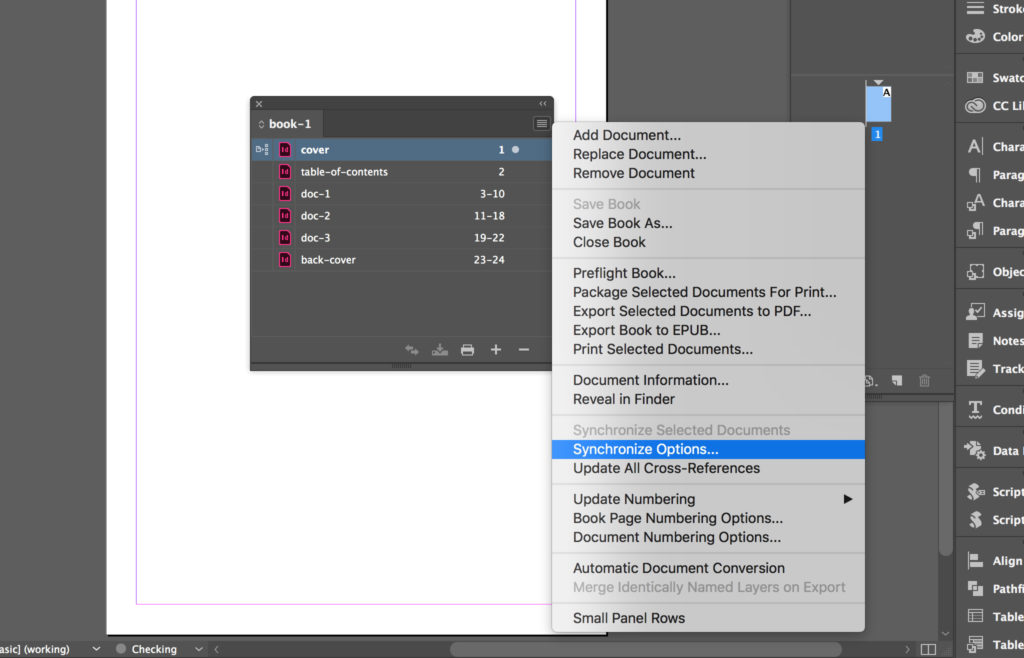
These are the elements you can synchronize.
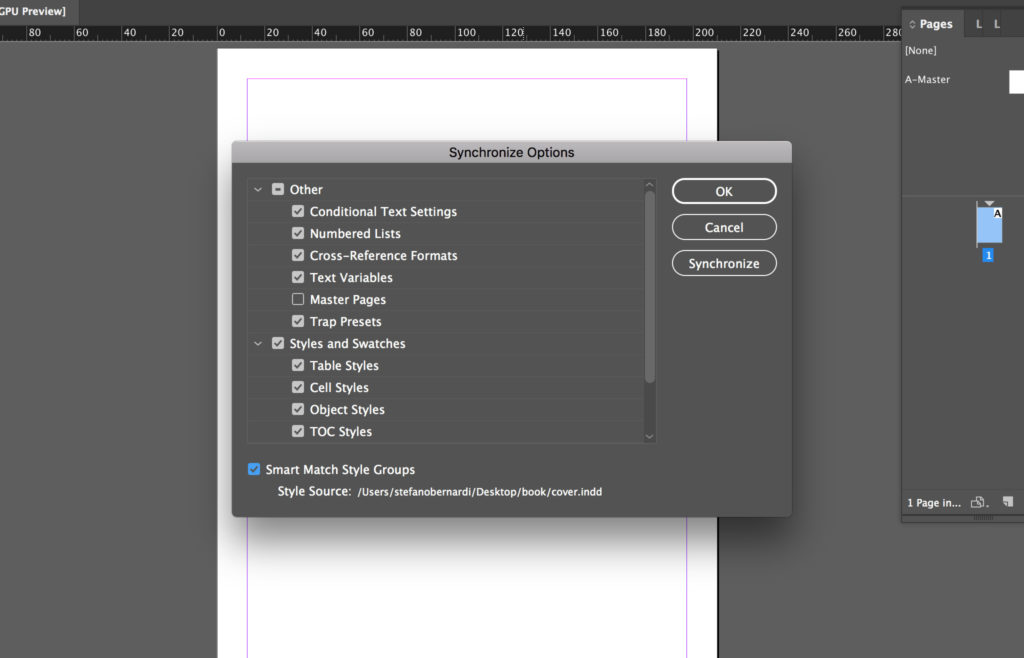
Table Of Contents in an InDesign book
You can create the TOC in any of the documents added to the book.
The TOC is a very important feature in InDesign because it automatically creates cross-references in your document. This means that if you change any of the paragraphs linked in the TOC or the content is moved to another page, the reference automatically updates as well.
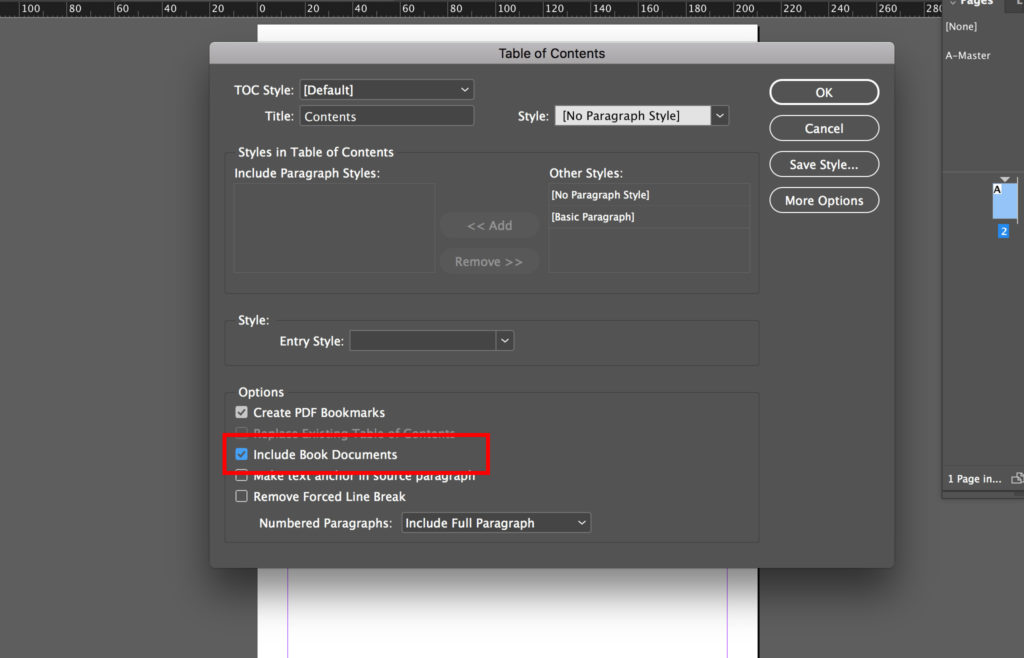
If you don’t know this feature, follow this tutorial to see how to create a Table of Contents in InDesign, and when you create the TOC remember to flag Include Book Documents.
Scripts for book files
For helpful scripts, you should check out our list 200+ Must-Have InDesign scripts (Free and paid), or if you're eager to learn more - here is a list with almost 50 helpful InDesign tutorials and InDesign courses.
For more information about InDesign books visit the official user guide.
Until next time,
Stefano


