


In this post, we are going to learn how to use one of the most powerful features InDesign has, Data Merge, to create several business cards.
I already wrote about InDesign data merge in this blog, and I strongly suggest you read that post if you want to learn how powerful this feature is.
However, you don't need any previous experience with data merge in order to follow this tutorial because I'll guide you step by step from:
- Creating the document – to make this guide faster we will download an InDesign template
- Prepare our colleagues/client's data
- Prepare the business card for the data merge
- Run the data merge and have all the business cards ready in seconds.
Ok, ready? Let's start.
What is InDesign data merge?
In case you've never heard of InDesign data merge before, I should introduce you to what it is first, then we will see together how to use it for your business cards.
Data merge is a feature that you should use when you have to lay out a document (or part of a document) that has a "prototype example" (repetitive layout) that needs to be repeated in a grid or one record per page with different data.
It's super easy to use and it will save you a lot of time. And again, if you want a more in-depth explanation go and check my guide on InDesign data merge.
Create the business card
Now that we are on the same page, we are ready to create our business cards!
I won't explain the entire process of setting up the business card because there are already a lot of posts about that. If you have doubts, you should head to the official user guide on how to create a new document in InDesign. At the second point of the guide, you'll see how to change the dimension of your document. Set the dimensions of your business card, and you are good to go.
Instead, to save some time, I'll pick and download a free InDesign business card from this article I recently published on InDesign Business Card Templates. If you are looking for ideas, you should probably have a look at it too.

To make this guide easier to follow, I'll change some of the document's settings to make sure that we can see front and back of the business card next to each other.
This step is not necessary but go here if you want to understand better how pages and page numbers in InDesign work.
Anyway, as you can see in the image below, I'll activate Facing Pages and make the document start from page 2.
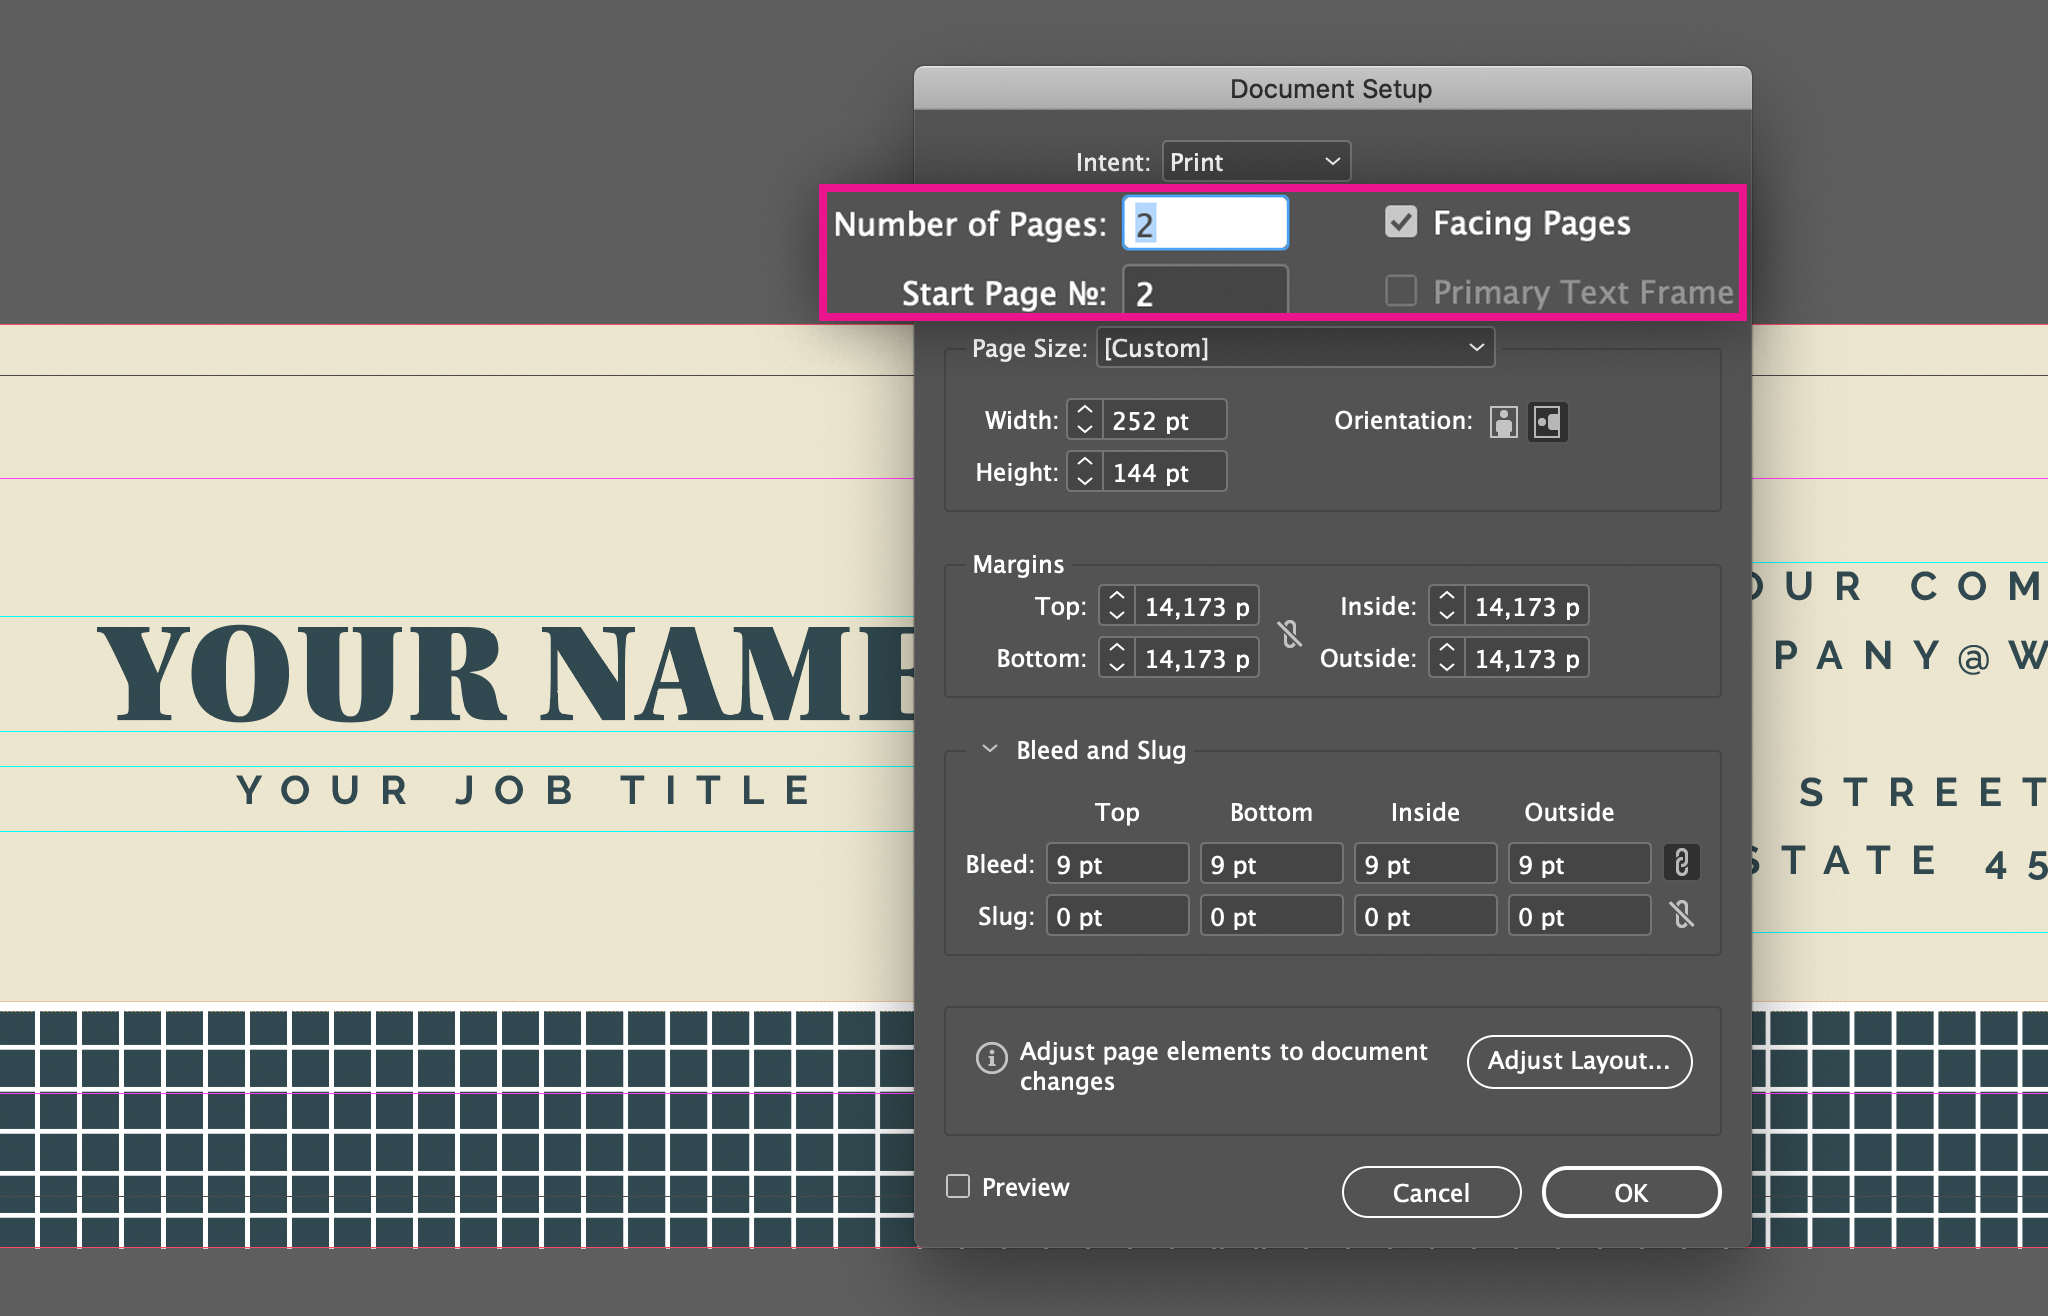
If you want to do the same, click on File > Document Setup... to change those two options.
Perfect, in the next step we will learn how to set up the Excel file that contains your colleagues/client's data.
Prepare your colleagues/client's data
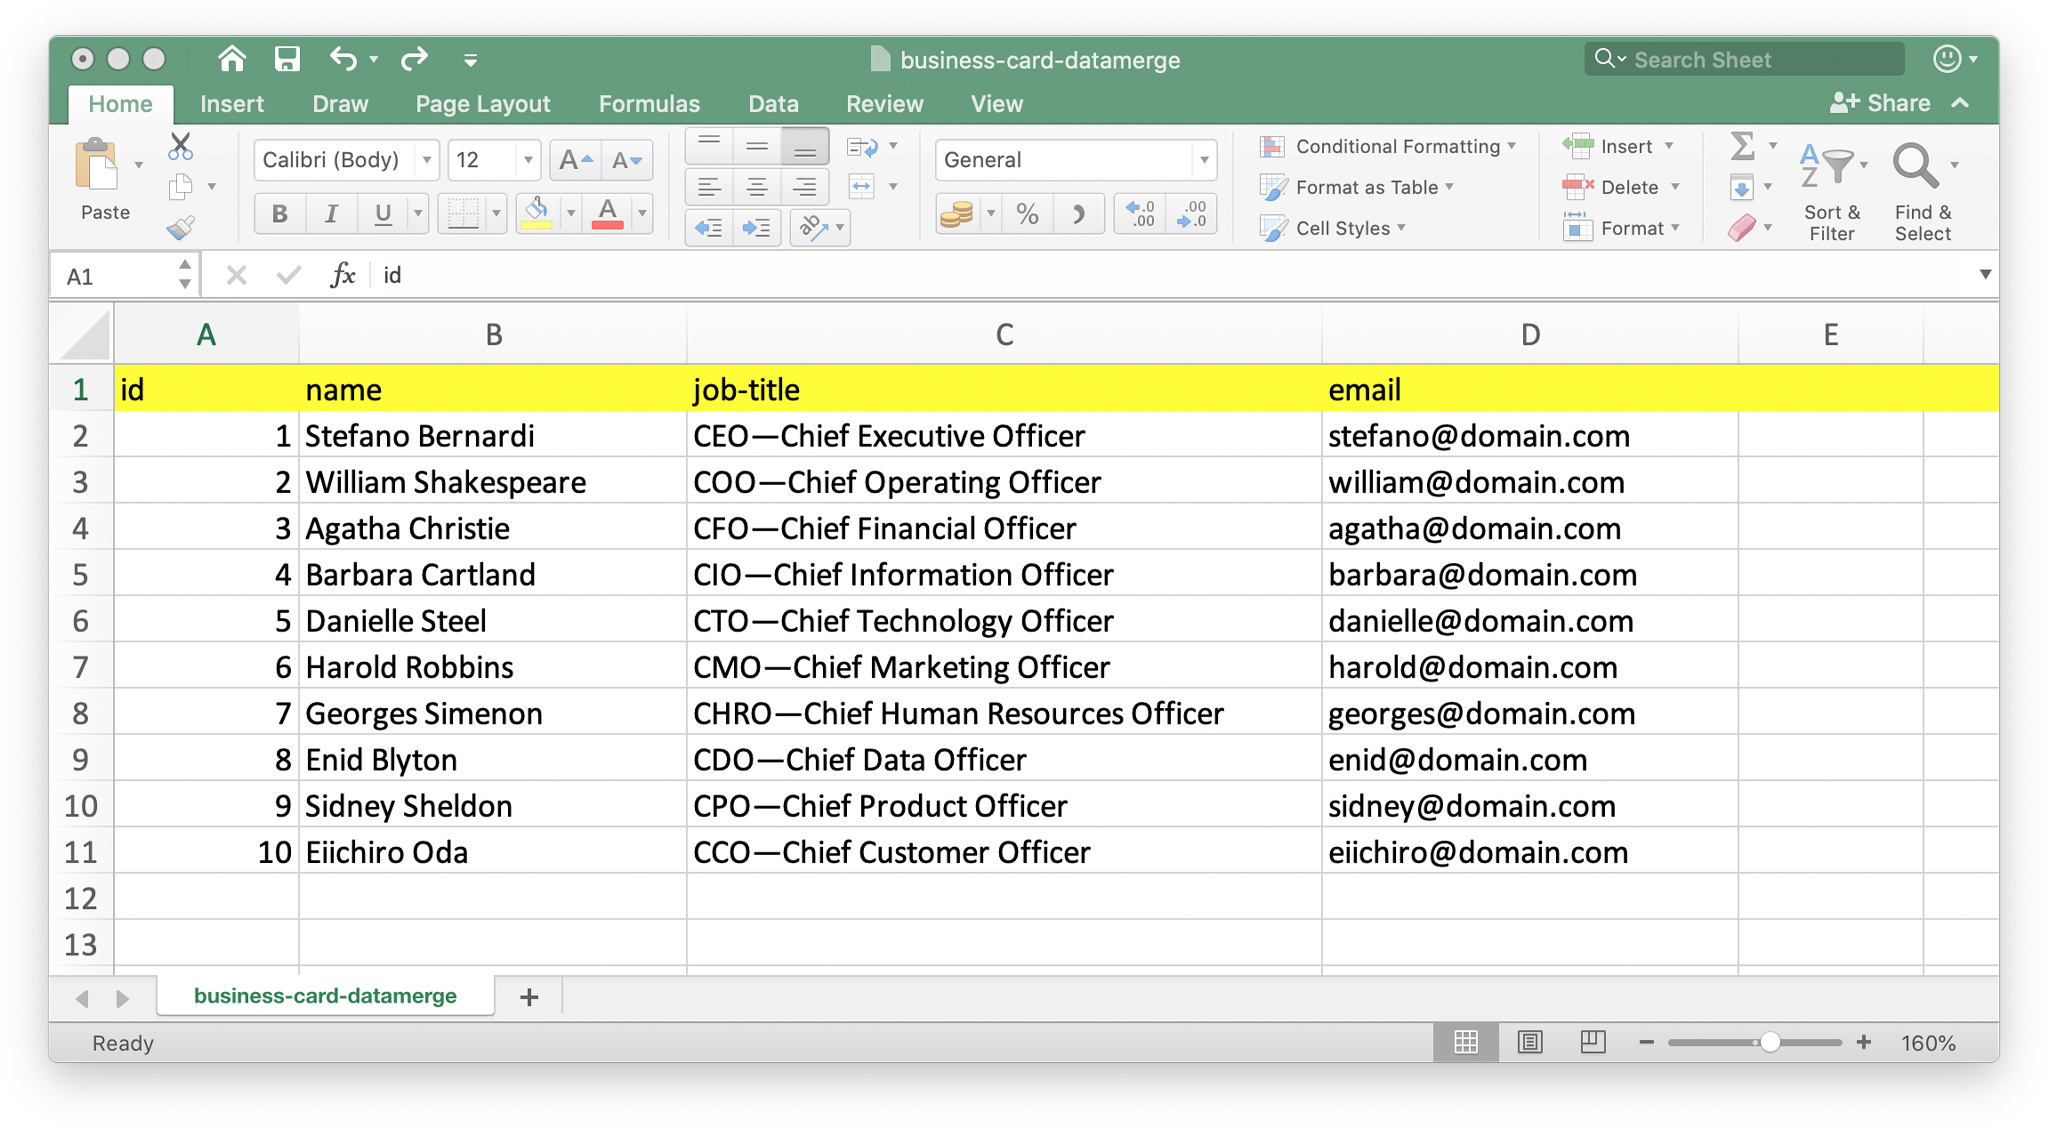
The business cards in my example will contain only text variables, so setting up the Excel file will be pretty straightforward.
The first row of your table should contain the name of each variable. In my case they are id, name, job-title, and email. Notice that id is a set of data that I won't use in the data merge.
The other rows should contain the data of each person.
After you completed the Excel file, you can save it in UTF-16 Unicode Text by clicking on File > Save As and selecting as File Format UTF-16 Unicode Text.

Prepare the template and create the business cards in seconds
Here comes the difficult part: prepare the data merge and run it. The next steps we will need to take are:
- Open the Data Merge Panel;
- Select the Data Source;
- Tell InDesign where to put each data set;
- Enjoy while InDesign automatically creates all the business cards.
Open the Data Merge Panel
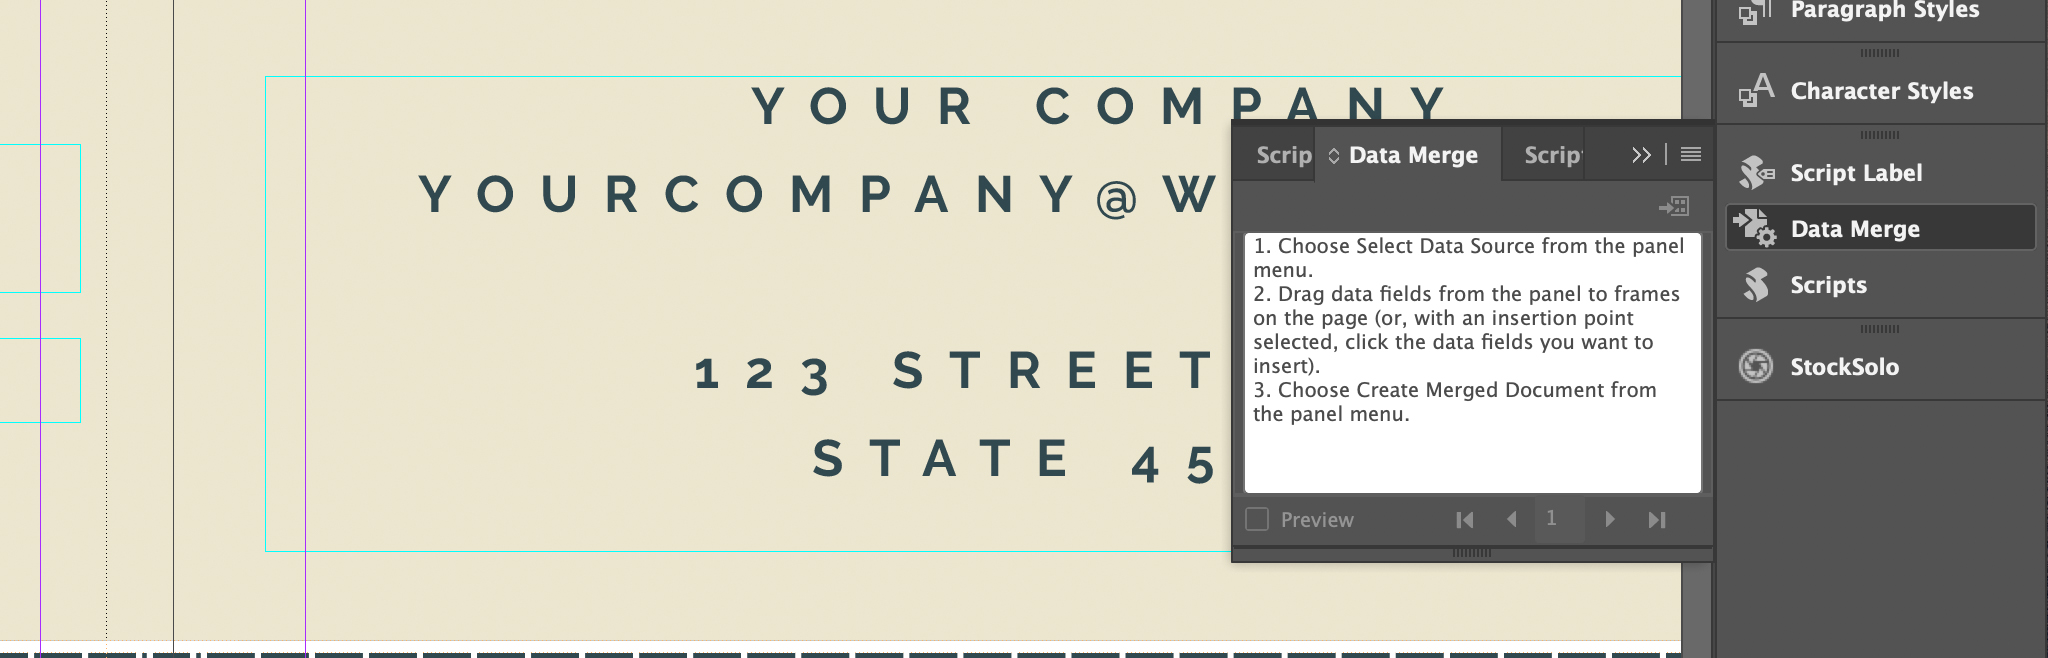
Go back to InDesign, and click on Window > Utilities > Data Merge. The small panel below will open.
Select the Data Source
In this step we will add the Data Source. In other words, we will tell InDesign to pick all the information from the Excel file we created above.
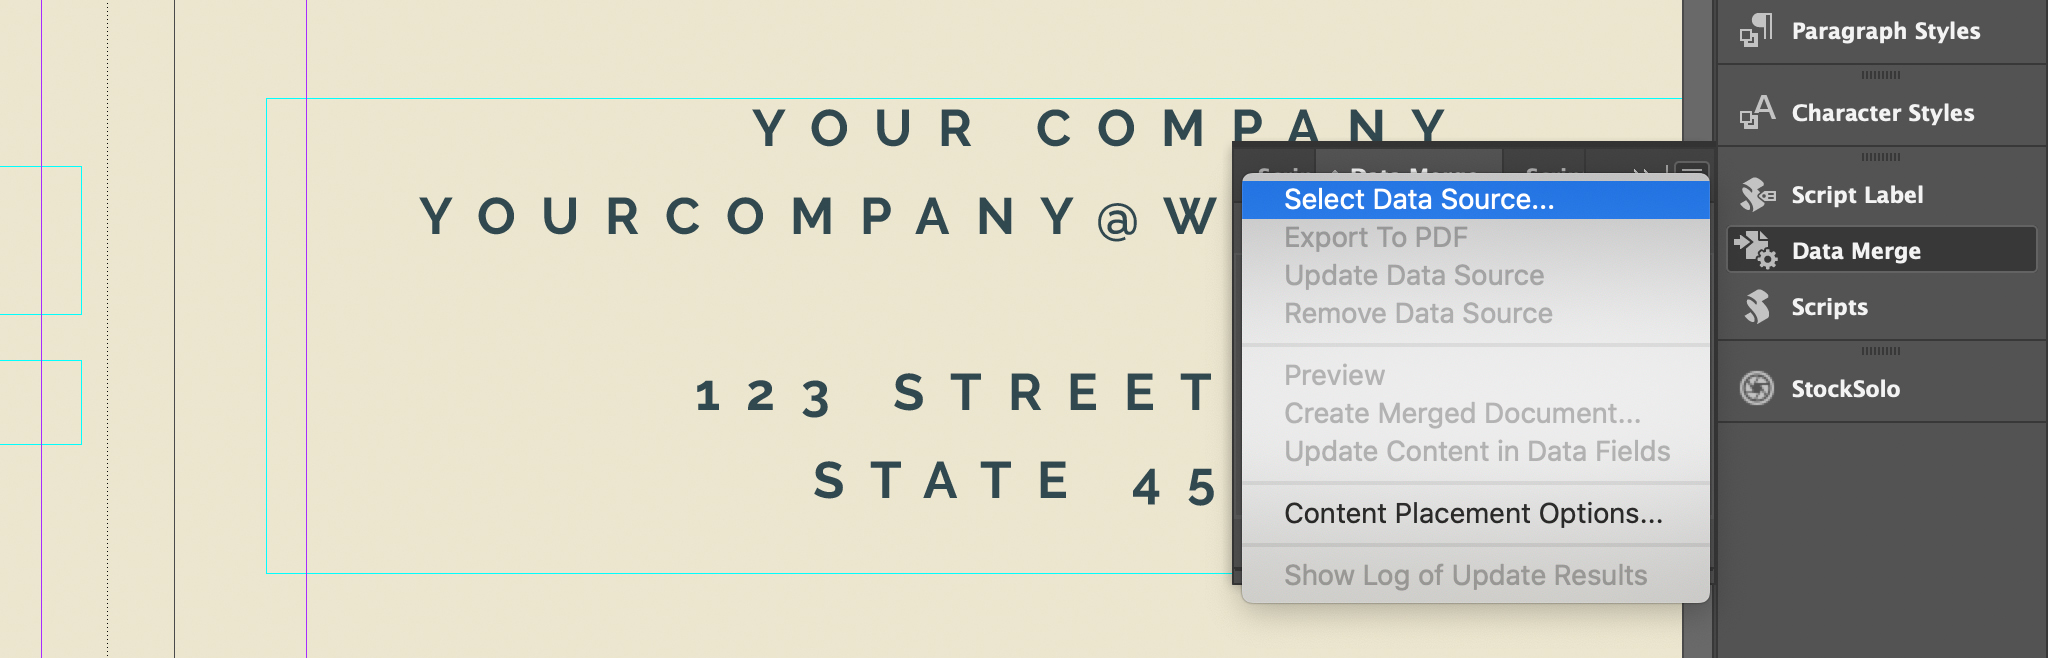
Click on the top-left icon in the Data Merge panel. The one with 4 horizontal lines.
Then click on Select Data Source... and select the TXT file we created from the Excel that contains all the data.
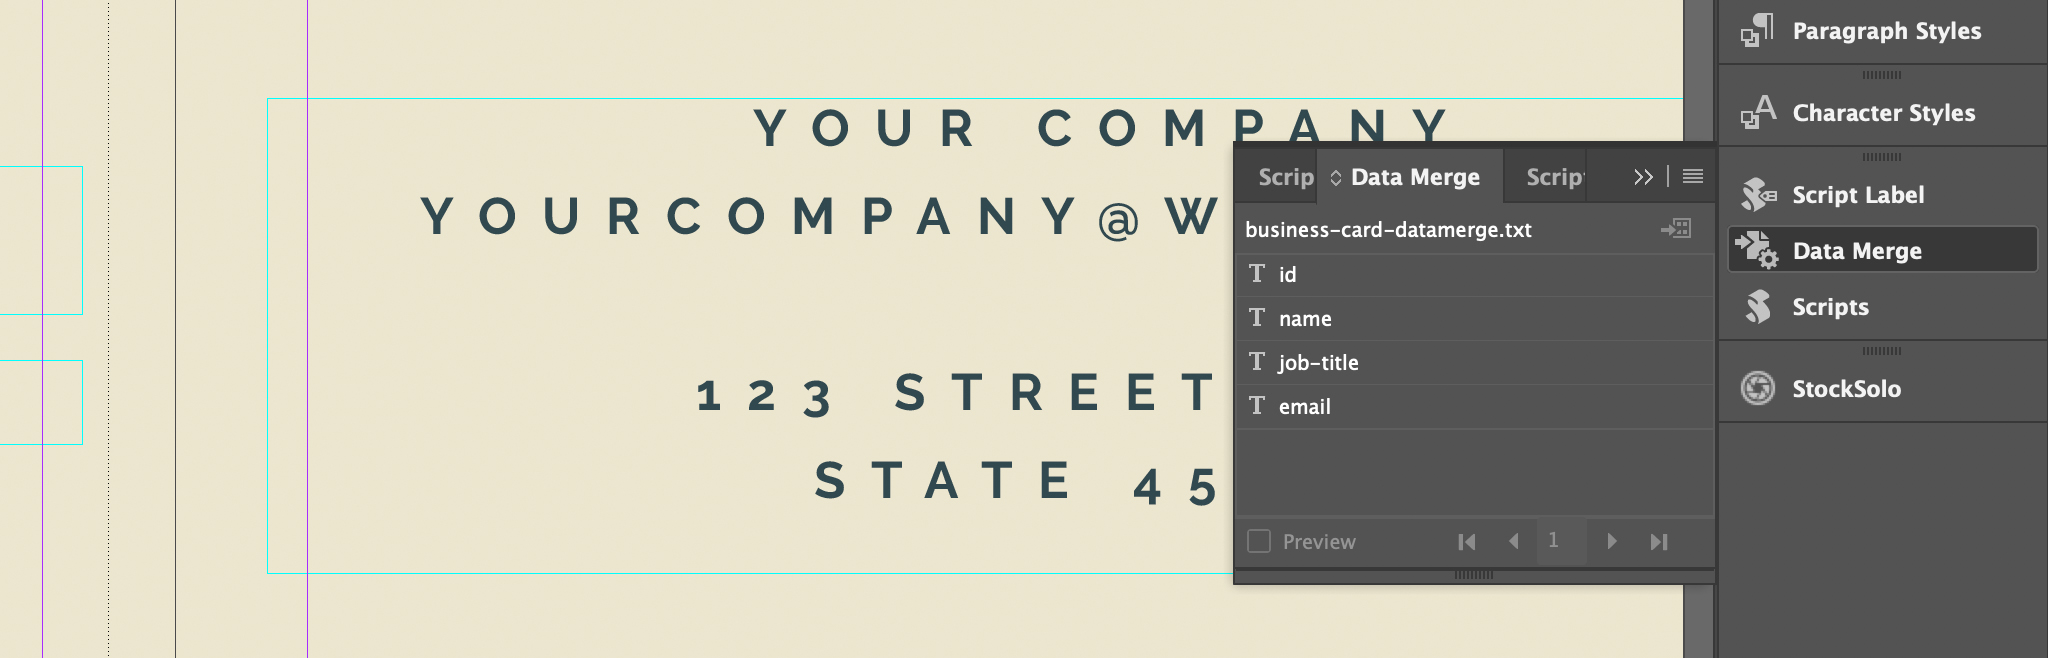
After you've added the Data Source, InDesign creates the variables for the data merge.
The variables' name is taken from the first row of the Excel file we previously created.
Tell InDesign where to put each data set
In the next step, we have to tell InDesign where to put our data, and what style to give to our data.
Luckily, it's not that hard. You only need to select the text you want to replace with the data coming from the TXT file.
Select the text.
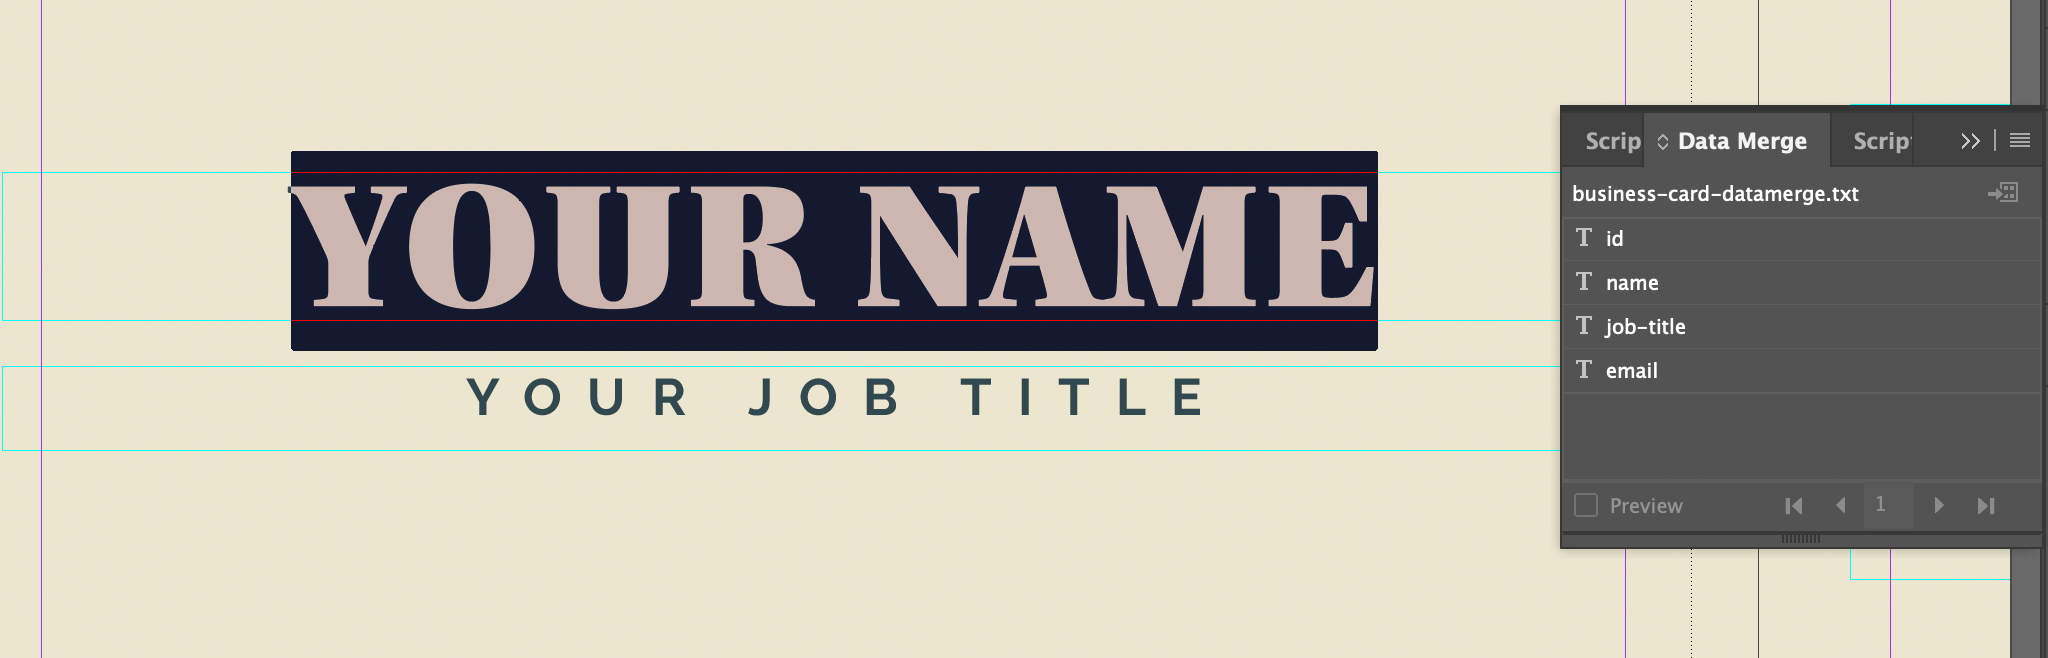
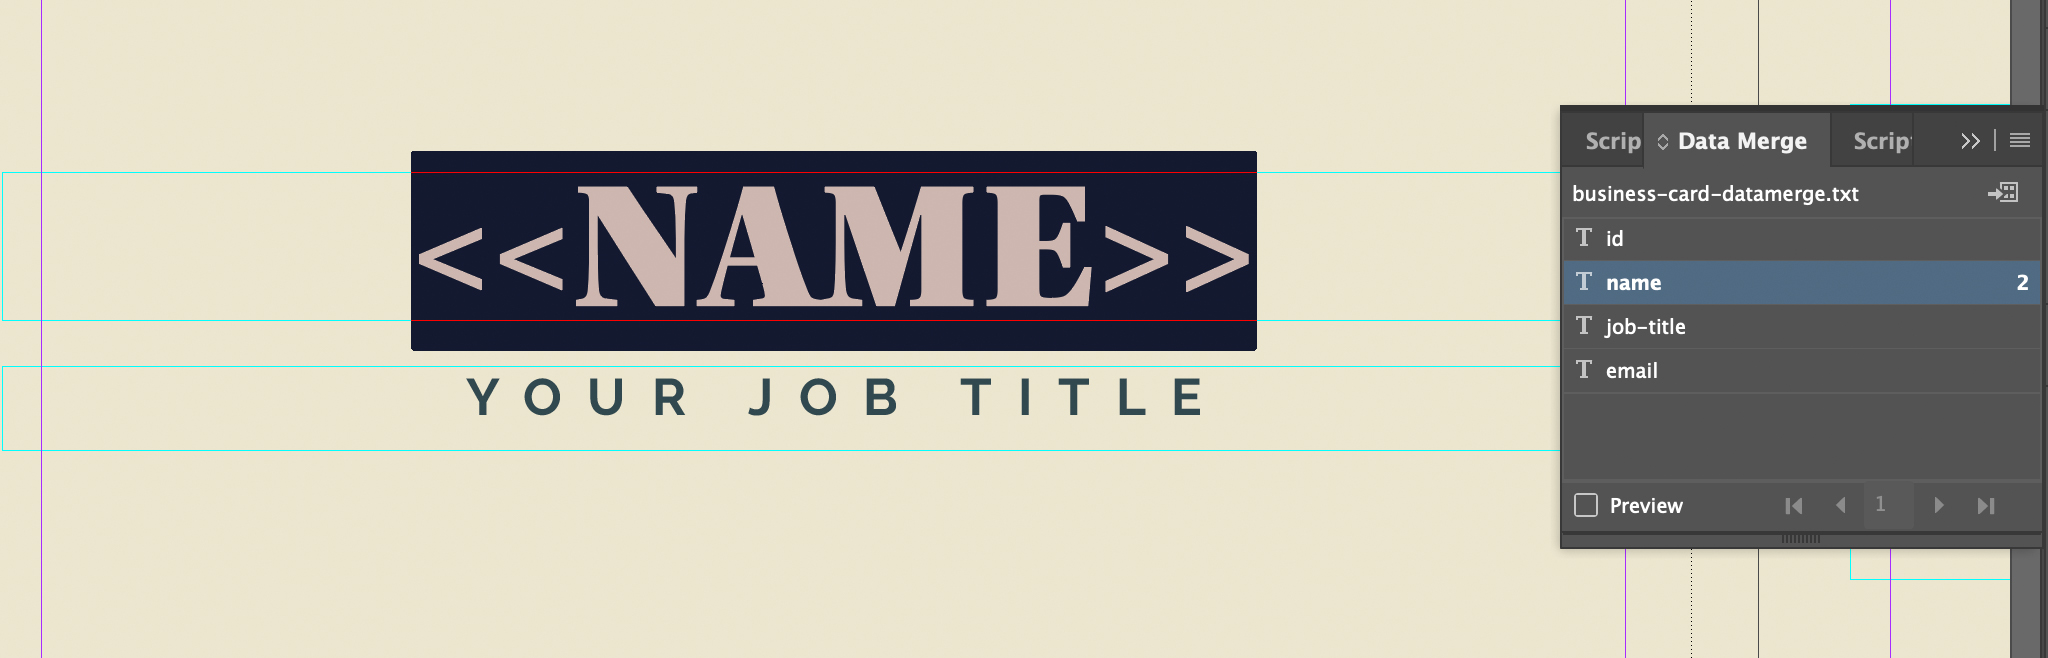
And then click on the name of the variable you want to place.
Of course, nobody stops you from formatting your text locally, but I strongly recommend you to use InDesign Paragraph Styles, that way you'll have better control over your text.
Preview the data merge results in InDesign
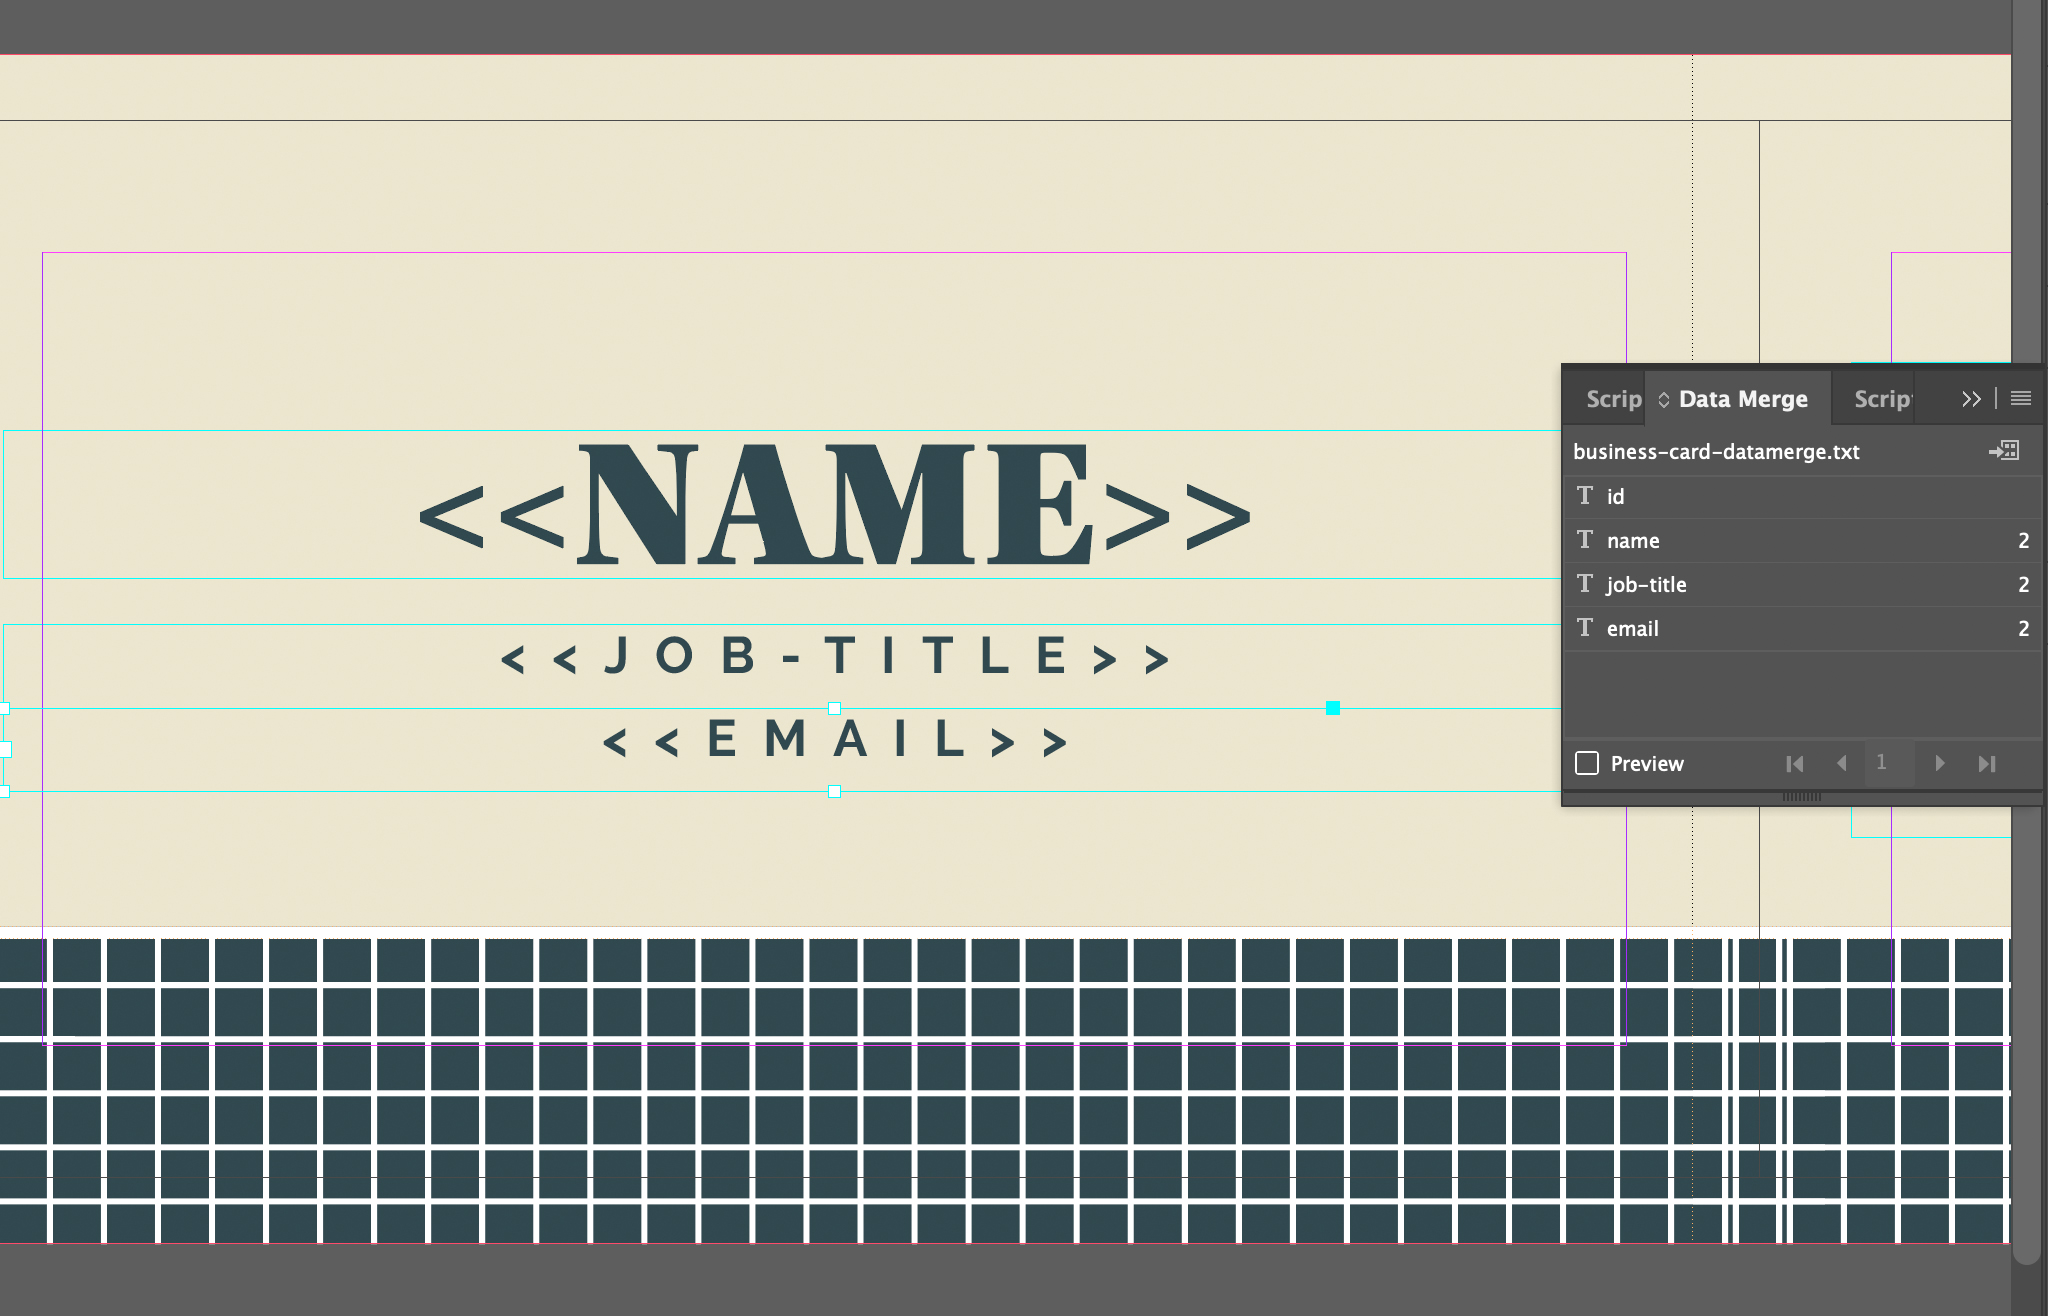
After you've assigned all the variables in your layout, you are ready to launch the data merge.
You can click on the "Preview" button in the Data Merge panel to see what will be the result after the merge is completed.
Use the arrows to move up and down your dataset and see the preview for each of your business cards.
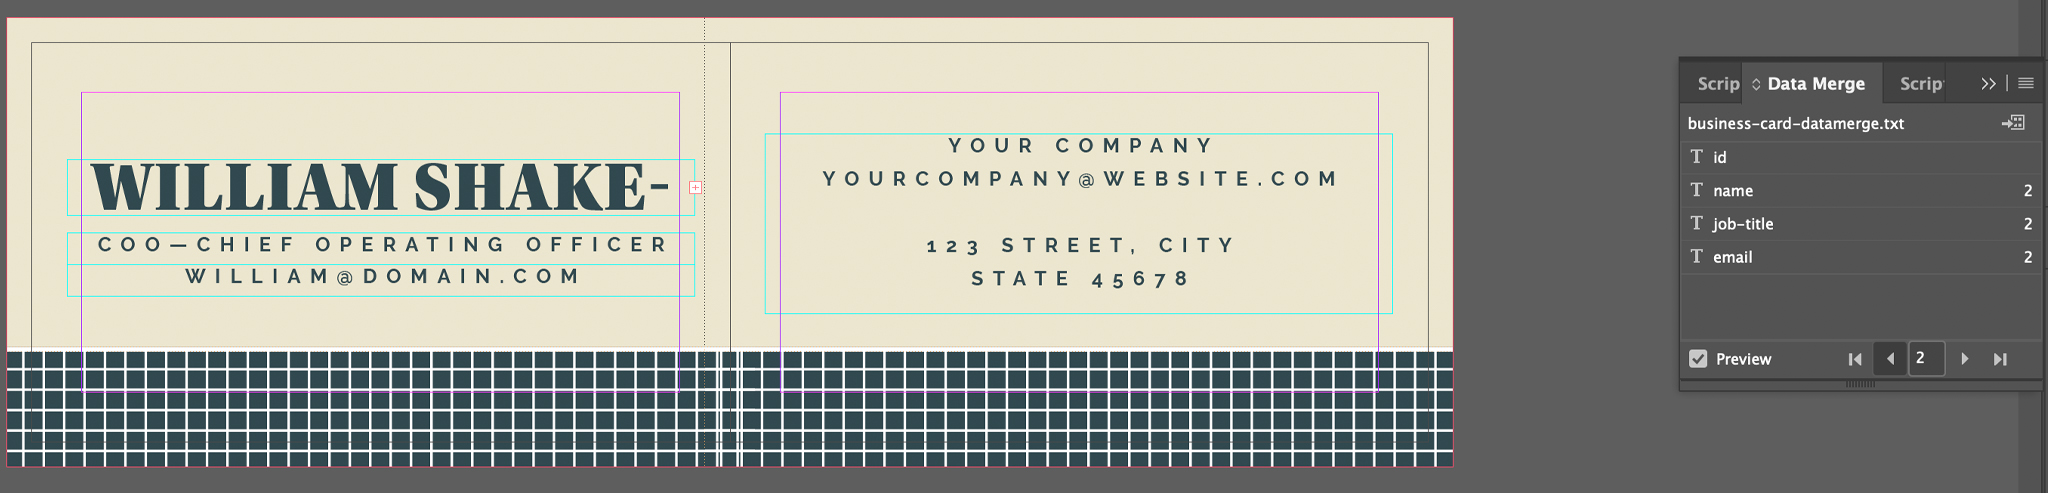
If some of the data don't fit into the space you assigned to the text contained in a variable (see William Shakespeare's name) you can still fix it before running the data merge (or after).
Run the data merge in InDesign
Time for the magic! When you run the data merge, InDesign creates a new document that contains all your business cards in a matter of seconds.
In short, what just we did was:
- Preparing a "prototype graphic" in InDesign;
- Adding all the people's information in a table (the Excel file);
- Exporting the table in a format that can be read by the Data Merge feature (the TXT file);
- Adding the data source to the Data Merge feature;
- Indicating to InDesign where to insert the data inside the"prototype graphic".
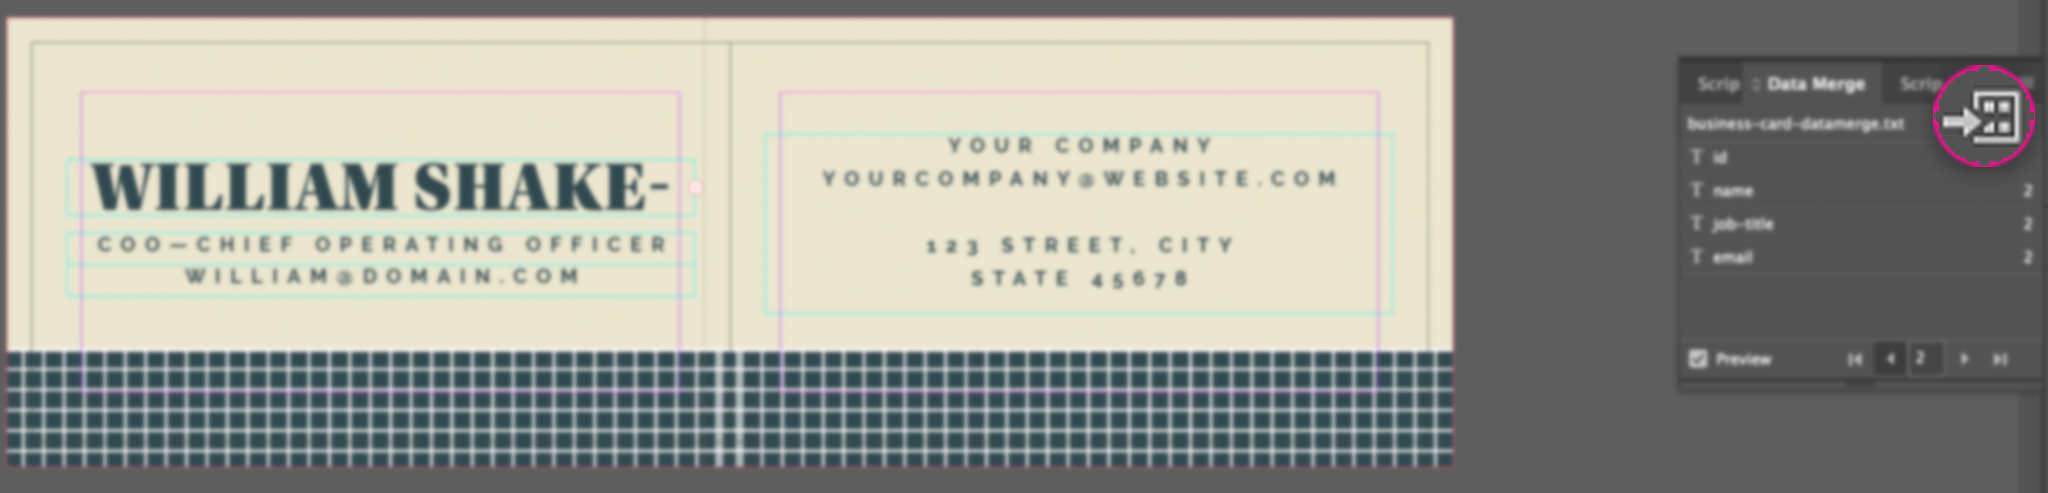
After you completed all those steps, you can click on the button at the top-left of the Data Merge Panel (see pic. below).
In the Data Merge pop-up, check that "Records per Document Page" is set to "Single Record", and then click Ok.
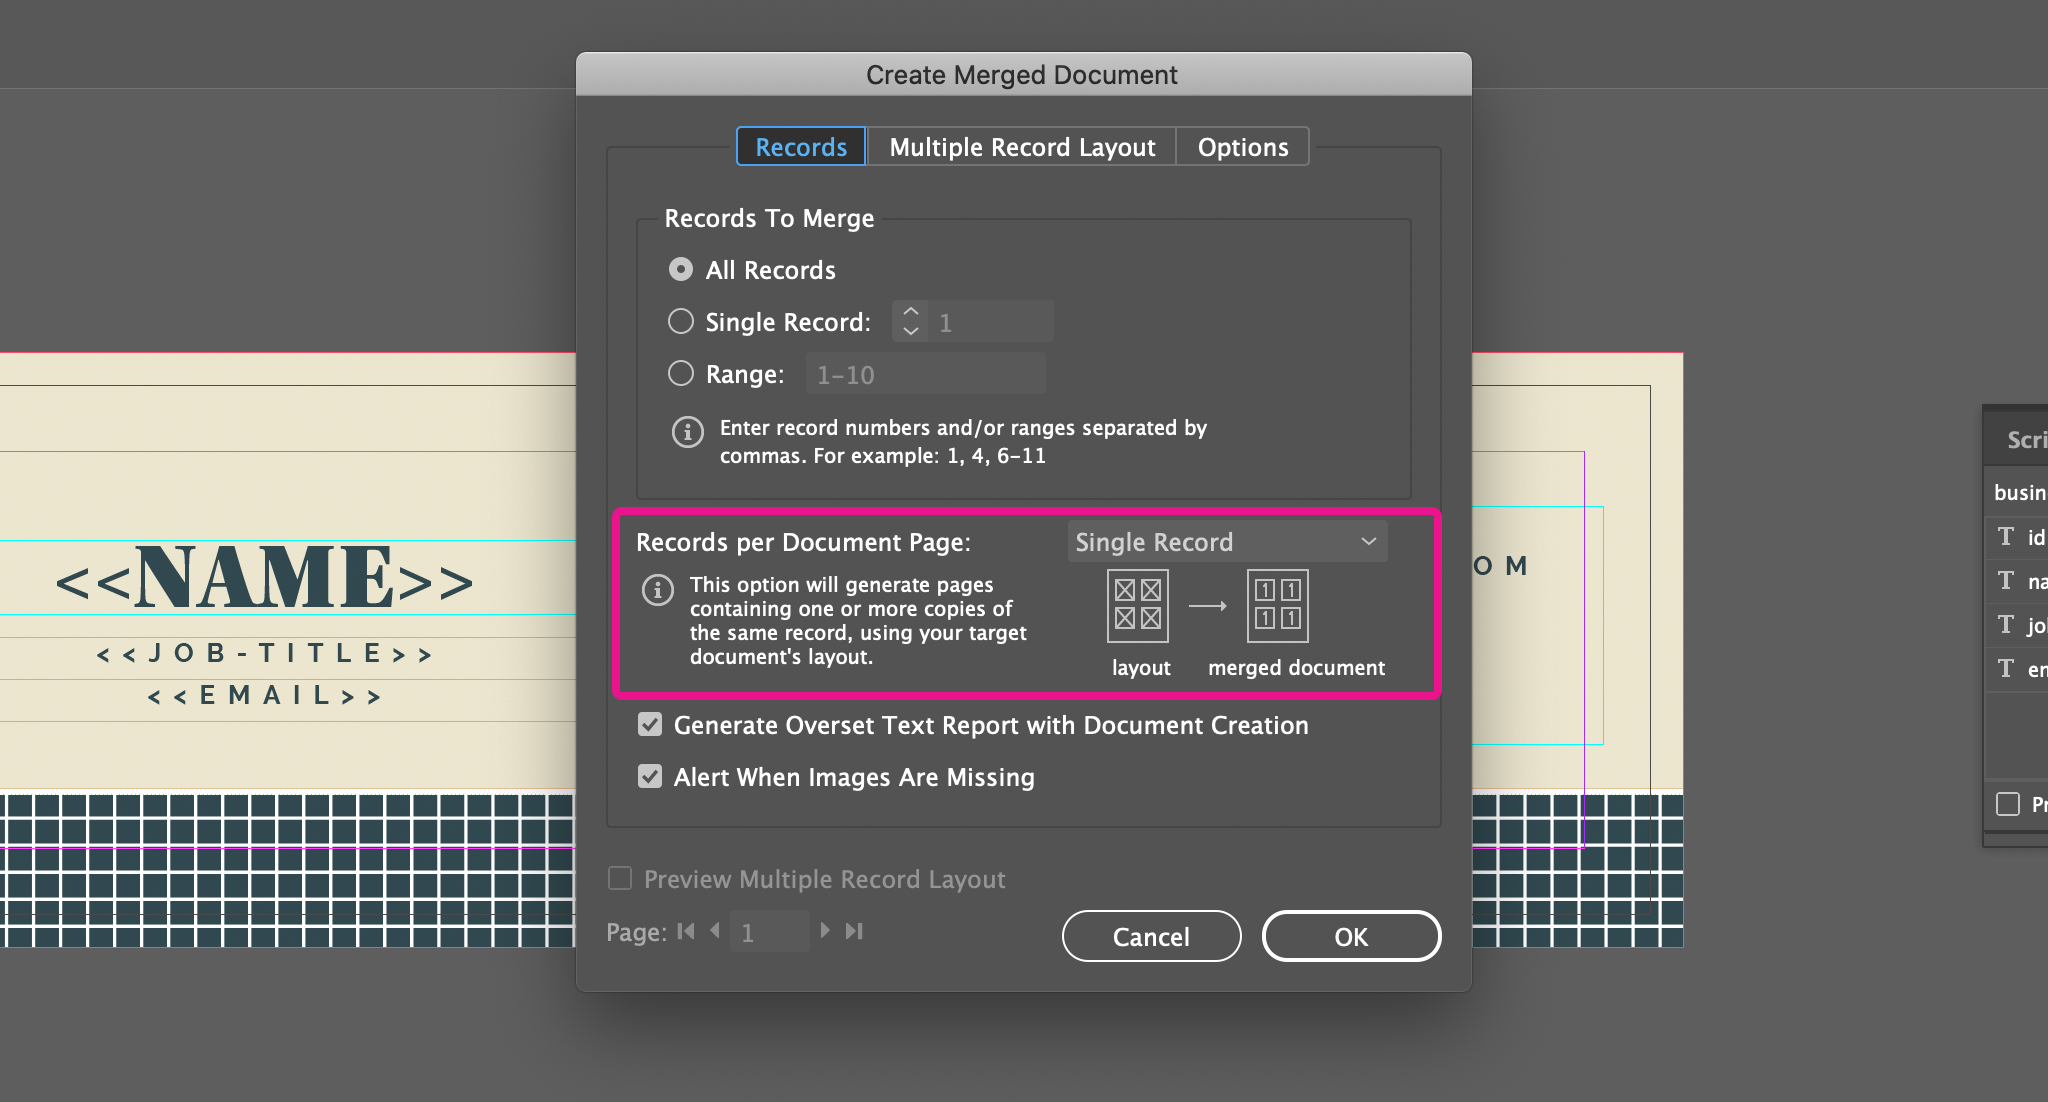
InDesign will automatically create all the business cards!
Enjoy InDesign working for you
InDesign is an amazing tool!
There are many reasons why InDesign became the leading software of the industry, and the chosen tool by almost any designer out there.
Not only is it easy to use, it has the ability to truly help you with creating beautiful layouts (I'd say mainly due to the way it handles Typography, and "forces" its users to maintain order in the layout), InDesign also has very powerful integrated automation tools such as GREPs.
And when there is no integrated tool, you can bet someone tackled that issue before.
Are you trying to automate a specific task? There are hundreds of InDesign scripts and plugins out there that can help you.
Are you working on a new layout for your document? There are awesome catalog templates, brochure templates, book templates, newsletter templates, cookbook templates, and really, any kind of template.
Do you have a Word document to import in InDesign? The software can handle it perfectly.
Or are you always importing and updating data and lots of tables? Link a spreadsheet to a table in InDesign so that every time you update the data in Excel also the table in InDesign updates.
Besides sharing how to make business cards in seconds - make sure you also read how to make a catalog and how to quickly produce ads and banners. Lastly, make sure you see this list with the 20 most common InDesign mistakes. Chances are you might be making a mistake and not even be aware of it.
In other words, as you can see in this post and all the ones above, the true strength of InDesign is its potential. Once you start exploring how InDesign works for you, the possibilities are endless!
Until next time,
Stefano


